
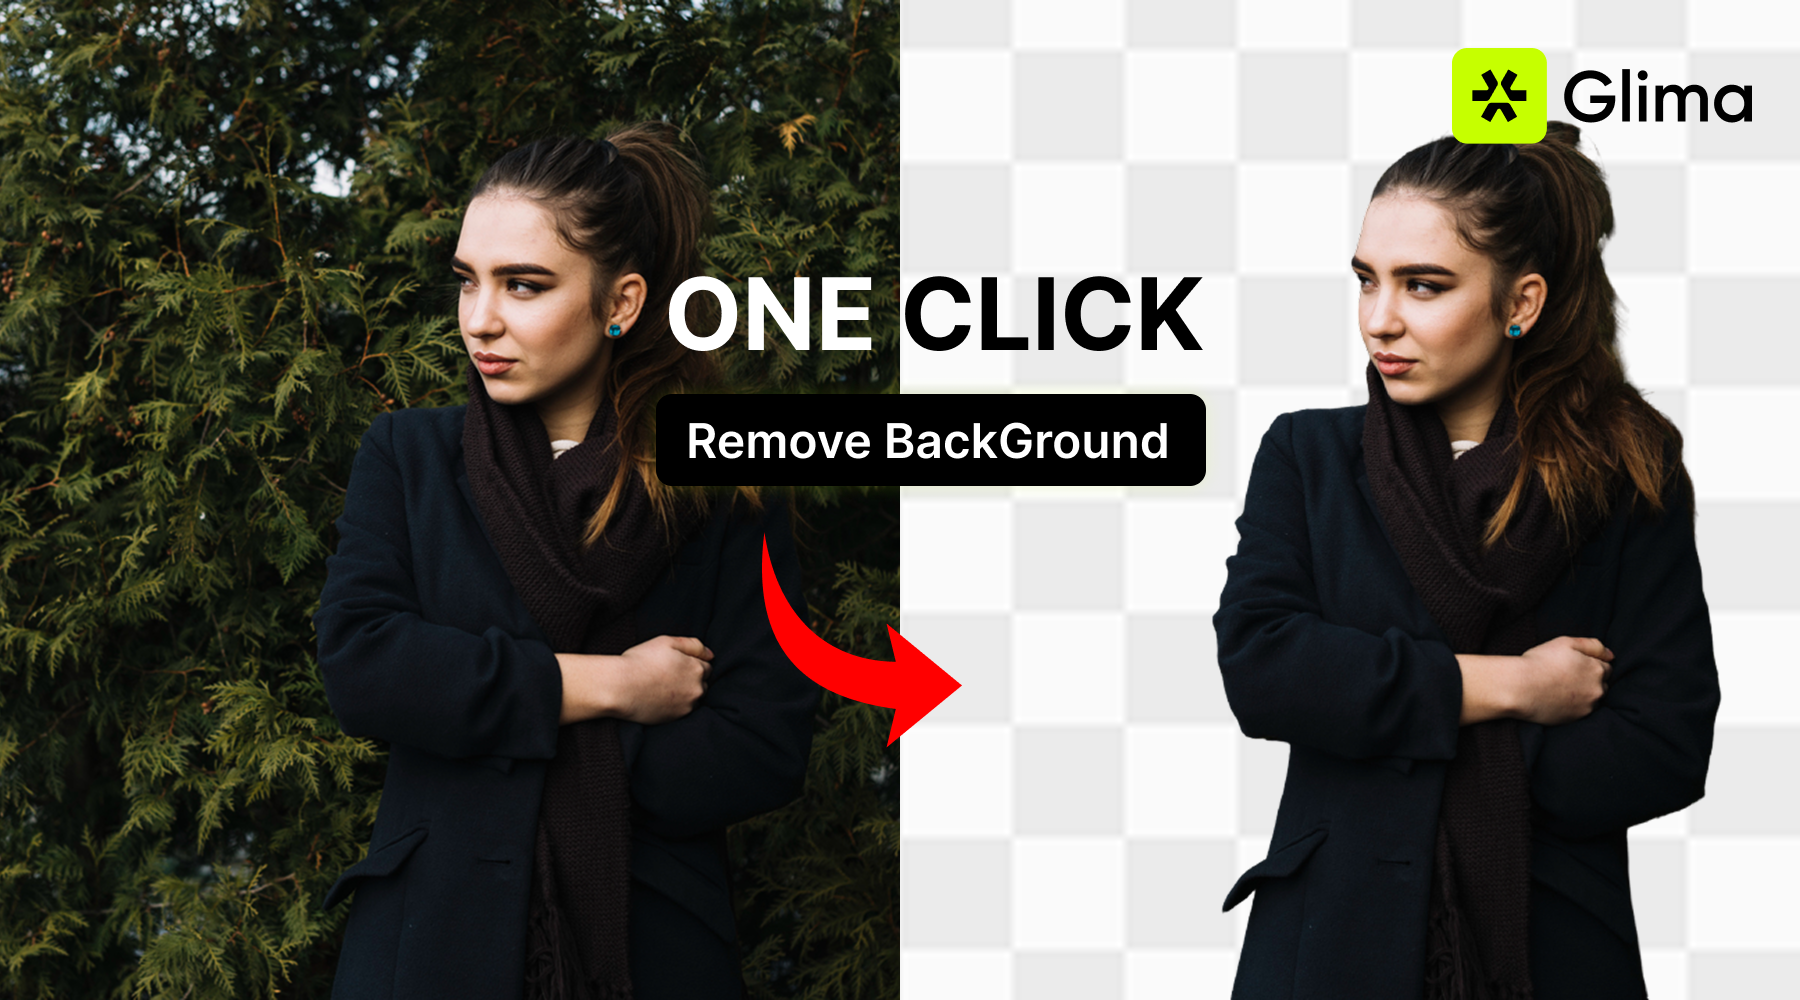
Knowing how to remove the background from an image is a must-have skill for anyone creating visuals today. Often, it’s as simple as uploading your picture to an AI tool, letting it work its magic, and downloading the result with a transparent background. But for trickier photos, you might need to roll up your sleeves with manual tools like Photoshop’s Pen Tool to get that perfect, pixel-precise cutout.
Why Removing Image Backgrounds Is a Creative Superpower
Getting good at removing backgrounds is more than just a neat party trick; it’s a genuine strategic advantage that opens up a world of creative options. Think of it as the ultimate decluttering tool for your images. When you strip away a busy or irrelevant background, you instantly pull all the focus onto your main subject, whether that’s a product for your online shop, a portrait, or a piece of art.
This one skill can have a huge impact across so many different areas. For an e-commerce brand, it’s the secret to creating a clean, consistent look across your entire product line. Professional, uniform product photos on a simple background build trust and make your whole operation look more polished. It’s not just about looking good—it directly affects how customers see your brand and whether they decide to buy.
Driving Engagement and Brand Consistency
If you manage social media or create content, being able to quickly pull a subject out of its background is a total game-changer. It’s how you create those thumb-stopping graphics, custom memes, and slick promotional posts that actually get noticed in a noisy feed. You can drop a perfectly cut-out photo of yourself or a new product onto a branded template or a trendy, colourful backdrop in seconds. This kind of flexibility is crucial for keeping your visual identity strong while still being able to jump on new trends.
A clean cutout gives you a few major wins:
- Laser Focus: It guides the viewer’s eye straight to the most important part of the image.
- Professional Polish: It instantly makes everything from website banners to email newsletters look more high-end.
- Creative Freedom: It turns a standard photo into a versatile asset you can use in any design or composition you can dream up.
The real power is in the transformation. An image with its background gone is no longer just a static photo; it becomes a dynamic building block for countless new visual ideas.
Unlocking New Creative Possibilities
It’s not all about marketing, either. Graphic designers and digital artists rely on this technique to build complex photo manipulations. They can seamlessly blend elements from different photos to create surreal landscapes or design intricate visual narratives. All of it starts with isolating a subject from its original setting—and tools like Background Remover make that process faster and more precise, even for high-detail images.
In the end, whether you’re prepping a product shot for Shopify or designing a viral Instagram post, the goal is the same: to send a clear message. Removing a distracting background makes sure your subject is the one doing all the talking. Of course, once you have that clean slate, knowing what to do next is just as important. Resources like a guide to backgrounds for thumbnails can be a great help, showing you what to add back in to create visuals that truly pop.
The Instant Fix: Using AI Background Removers
If you need a clean, professional result without spending hours fiddling with manual edits, AI-powered tools are the answer. They’ve completely changed the game, offering a one-click solution to what used to be a tedious, painstaking task. Forget about complex software and steep learning curves; this is as straightforward as it gets.
You literally just upload your image to an AI tool, like the one we offer at https://glima.ai/image-generator/ai-image-background-remover. The platform’s algorithm gets to work instantly. It’s been trained on millions of images, so it knows how to tell the difference between a person, a product, or a pet and whatever is behind it. In seconds, it cleanly isolates your subject and gets rid of the background.
From there, you just download the new image as a transparent PNG. The whole process—from a cluttered photo to a ready-to-use asset—often takes less than five seconds. It’s a massive time-saver for anyone who needs to produce great-looking visuals on a deadline.
How AI Has Made Pro-Level Editing Accessible to Everyone
Let’s get practical. Imagine you’re a social media manager prepping a dozen thumbnails for a new YouTube series. In the old days, that meant hours of carefully tracing outlines with a mouse or stylus. With a good AI tool, you can batch-process those images and have a folder full of transparent cutouts ready to go in the time it takes to brew a pot of tea.
This isn’t just about convenience; it’s a huge productivity gain. Take India’s booming e-commerce market, for example. Manually editing a single product photo used to take an average of 15-20 minutes. AI tools have slashed that to just a few seconds, boosting efficiency by over 90%. A recent survey even found that 68% of small and medium e-commerce businesses in the region have adopted AI photo editing, with background removal being the most-used feature for 72% of them.
This flowchart shows how different creators think about using background removal for their specific needs.
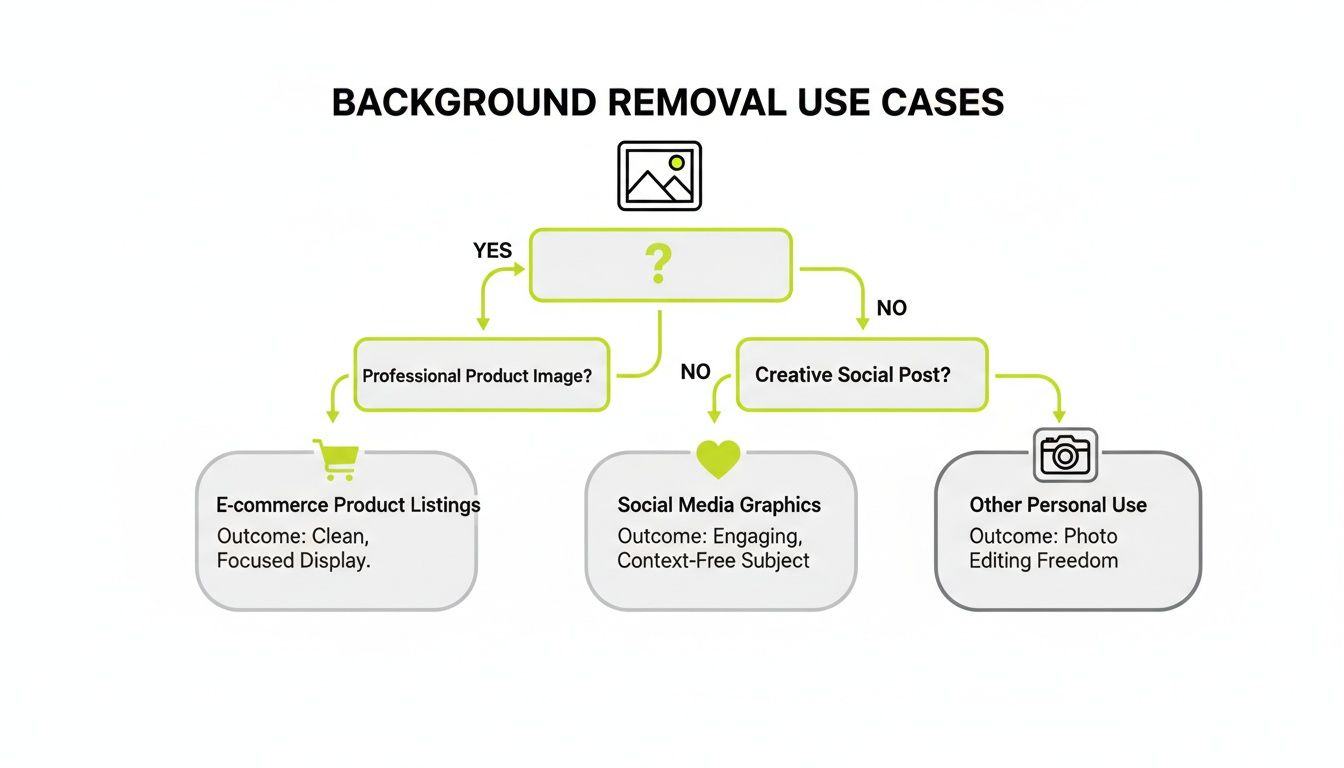
As you can see, both e-commerce and social media workflows rely heavily on clean, isolated subjects to keep branding consistent and visuals sharp.
Ultimately, AI tools level the playing field. They give solo creators, small business owners, and marketers the power to produce visuals that were once only possible for professionals with expensive software and years of experience.
The real magic of AI background removers is that they handle all the technical heavy lifting for you. They analyse pixels, find the edges, and make smart decisions, freeing you up to focus on the creative part of your project.
When to Reach for an AI Background Remover
While manual methods still have their place for highly detailed or artistic work, AI is almost always the better choice for a wide range of everyday scenarios. You should definitely consider an AI tool when you need:
- Speed and Volume: Perfect for e-commerce stores that need to process hundreds of product photos quickly and consistently.
- Ease of Use: A lifesaver for content creators who need polished social media graphics without getting bogged down in technical editing.
- Quick Mockups: Fantastic for designers who want to quickly test how an object or person looks against different backdrops.
Choosing Your Background Removal Method
Deciding which technique to use can feel overwhelming, but it really just comes down to your specific needs. This quick table breaks down the main options to help you choose the right tool for the job.
| Method | Best For | Speed | Skill Level Required |
|---|---|---|---|
| AI Tools | E-commerce, social media, high-volume tasks | Seconds | Beginner |
| Web/Mobile Apps | Quick edits on the go, casual use | Minutes | Beginner |
| Photoshop (Manual) | Complex subjects, fine-tuning, professional composites | Varies (slow) | Intermediate to Advanced |
| Built-in OS Tools | One-off, simple images, no extra software | Seconds to Minutes | Beginner |
Each method has its strengths. AI is all about speed and simplicity, while manual tools like Photoshop offer unparalleled control for those who need it.
Once the background is gone, the creative possibilities really open up. For those working with professional portraits or headshots, the next step is often customisation. After removing the original background, it’s easy to learn how to change background color on AI headshots to get a fresh and consistent look for your whole team.
Ultimately, these tools provide a powerful and accessible starting point for almost any project. If you’re looking for a fast, reliable way to handle this common task, why not give it a try?
Mastering Manual Edits in Photoshop for Total Control
While AI tools are fantastic for speed, there are times when a job demands absolute, pixel-perfect precision. For those high-stakes e-commerce shots, intricate photo composites, or images with fiendishly tricky edges, getting your hands dirty in a program like Adobe Photoshop is still the gold standard. This is where you trade one-click convenience for complete authority over every last detail.
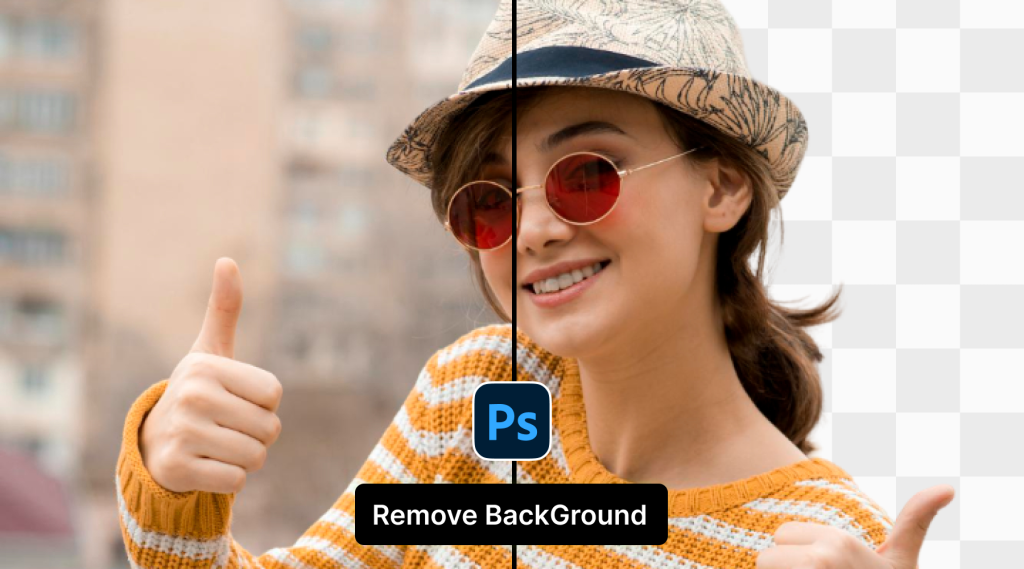
Honestly, this approach isn’t about getting it done fast; it’s about craftsmanship. When you manually cut out a background, you’re making deliberate, artistic choices about how an edge should look, ensuring the final result is flawless. For professional photographers, graphic designers, and retouchers, that level of perfection is non-negotiable.
Achieving Razor-Sharp Edges with the Pen Tool
Got a subject with hard, defined edges? Think electronics, furniture, or cars. The Pen Tool is your best friend here. It lets you create a vector path—a series of mathematically precise lines and curves—that perfectly traces your subject. Unlike a brush, a path can be tweaked endlessly without losing an ounce of quality.
Creating a good path takes a bit of patience. You click to place anchor points and then click-and-drag to create smooth curves that hug the object’s contours. Once you’ve traced the entire outline, you can instantly convert that path into a perfectly clean selection.
- Best for: Products, logos, architecture, and anything with smooth, man-made lines.
- Pro Tip: I learned this the hard way—use as few anchor points as you can get away with. It makes for smoother, more natural-looking curves and saves you a headache if you need to edit the path later.
The Pen Tool is the bedrock of high-end product retouching. It guarantees that every edge is immaculate, which is essential for catalogue and advertising work where quality directly reflects the brand.
Once you have your path, you can use it to create a layer mask, which non-destructively hides the background. This brings us to one of the most vital concepts in professional photo editing.
Using Layer Masks for Non-Destructive Work
Here’s the golden rule of manual background removal in Photoshop: never, ever permanently delete pixels. Instead of reaching for the Eraser Tool, pros live by layer masks. Think of a layer mask as a magic stencil you place over your image; paint on it with black to hide parts of the layer, and paint with white to bring them back.
This method is completely reversible. If you get a bit carried away and erase part of your subject, just switch your brush to white and paint it right back in. This flexibility is a lifesaver on complex edits, letting you refine your selection over time without ever having to start from scratch.
Tackling the Tricky Stuff: Hair, Fur, and Fuzz
So what about subjects without those clean, hard edges? I’m talking about portraits with flyaway hair, a furry pet, or a soft, fuzzy blanket. The Pen Tool is useless here. For these challenges, you need to dive into Photoshop’s Select and Mask workspace.
This is a dedicated environment with a whole suite of tools designed specifically for refining these kinds of complex selections. A typical workflow looks something like this:
- Get a rough start: Use the Object Selection or Quick Selection Tool to grab a basic outline of your subject. Don’t worry about it being perfect.
- Enter the workspace: With your selection active, open Select and Mask to access the real magic.
- Refine with the brush: The Refine Edge Brush is the star of the show. Gently paint over soft edges like hair or fur, and Photoshop’s algorithm will intelligently separate the fine strands from the background.
- Tweak the global settings: Use the sliders for Smooth, Feather, Contrast, and Shift Edge to tighten up the entire selection for a flawless final cutout.
This hybrid approach—combining a quick initial selection with manual refinement—is how pros efficiently tackle even the most difficult images. It strikes the perfect balance between speed and precision. If you’re looking to build on these skills, exploring a full image editor suite can unlock a whole new range of creative techniques.
One last tip: always use a check layer. Just create a new layer under your subject and fill it with a bright, obnoxious colour like neon green or red. This jarring background makes it incredibly easy to spot any imperfections, halos, or leftover bits of background you might have missed.
Editing on the Go with Mobile Background Remover Apps
Let’s face it, content creation doesn’t always happen at a desk. For anyone who’s constantly on the move, being able to edit high-quality images straight from your phone isn’t just nice to have—it’s essential. Mobile apps have really stepped up, packing some seriously powerful background removal tools into an interface you can use with one hand.
Picture this: you’re an influencer covering a live event. You get a fantastic shot, but the background is a total mess—people milling about, distracting banners, you name it. You need to get a polished, on-brand story up on Instagram, like, yesterday. This is exactly where a good mobile background remover comes in clutch. It turns a potential editing headache into a super quick creative fix.
Top Mobile Apps for Quick Edits
Not all mobile editors are built the same. Some are brilliant for a quick, one-tap cutout of a person, while others are more like a full-blown design suite for adding new backgrounds, text, and effects. The trick is to find an app that actually fits how you work.
Here’s a quick breakdown of what to look for:
-
For Portrait Perfection: Apps like Photoroom are wizards at isolating people. Their AI is really good at handling tricky things like hair and clothing, giving you a clean result that’s perfect for headshots or a new profile picture. They usually have built-in tools for adding a simple coloured background or a realistic shadow.
-
For Social Media Integration: Many apps are designed specifically for social media. They come pre-loaded with templates and aspect ratios sized perfectly for Instagram Stories, Reels, or TikToks. This saves you the annoying step of resizing everything later, keeping your process smooth and fast.
-
For All-in-One Creativity: Then you have apps like Pixelcut or Superimpose, which do more than just remove backgrounds. Think of them as mini design studios in your pocket. You can layer multiple images, add text, and play with filters, making them great for anyone building complex graphics entirely on their phone.
A reliable background remover on your phone is like having a portable design studio. It lets you jump on creative opportunities in real-time, so your content always looks professional, no matter where you are.
A Practical Mobile Workflow
So, let’s circle back to our influencer at the live event. With the right app, their workflow is incredibly slick. First, they’d pull the photo from their camera roll straight into their chosen app. The AI gets to work, automatically finds the subject, and wipes out the cluttered background in seconds.
Next, they might swap in a new background—maybe a simple gradient using their brand colours or a pre-made graphic with the event’s logo. After adding a quick text overlay with a call-to-action, the image is done. From there, they can export it directly to Instagram without ever needing a laptop. The whole thing, from snap to post, can easily take less than five minutes.
This mobile-first way of working is a game-changer for anyone whose content relies on being fast and relevant. The power to remove the background from an image anywhere, anytime, gives you a huge creative edge and keeps your audience hooked.
Solving Advanced Background Removal Challenges
Let’s be honest, basic background removal is easy. Any tool can handle a simple object on a plain background. But what about the tricky stuff? I’m talking about fine, wispy hair, delicate transparent objects, or those natural shadows you actually want to keep.
This is where most one-click AI tools get you 90% of the way, but that last 10% is what separates a good edit from a great one. It’s also where you learn to combine the lightning speed of AI with the finesse of manual editing.
Many pros I know now use a hybrid model. First, run the image through a tool like Glima AI to do the initial heavy lifting. It takes seconds. Then, you pull that nearly perfect cutout into a more powerful editor to nail the tricky details. This blend gives you the best of both worlds: incredible efficiency and total creative control. For digital artists building complex composites or e-commerce brands processing hundreds of photos, this is a game-changer.
This hybrid approach has exploded in popularity, especially among content creators. In India alone, there are a staggering 500 million people on Instagram and Facebook, driving a massive need for high-quality, fast image editing. A recent NASSCOM study found that 58% of Indian creators use AI tools every single day. The most popular feature? You guessed it: background removal, with a 65% adoption rate. These tools slash editing time from over 10 minutes to under five seconds—a massive advantage when you need to get clean, branded content out the door fast.
Working with Fine Hair and Fur
Nothing makes an editor sweat like fine, flyaway hair against a complicated background. While AI is getting shockingly good at this, getting that pixel-perfect result often requires a bit of manual clean-up. The goal is not to create a sharp, helmet-like edge, but to preserve the soft, delicate details that make the final image look believable.
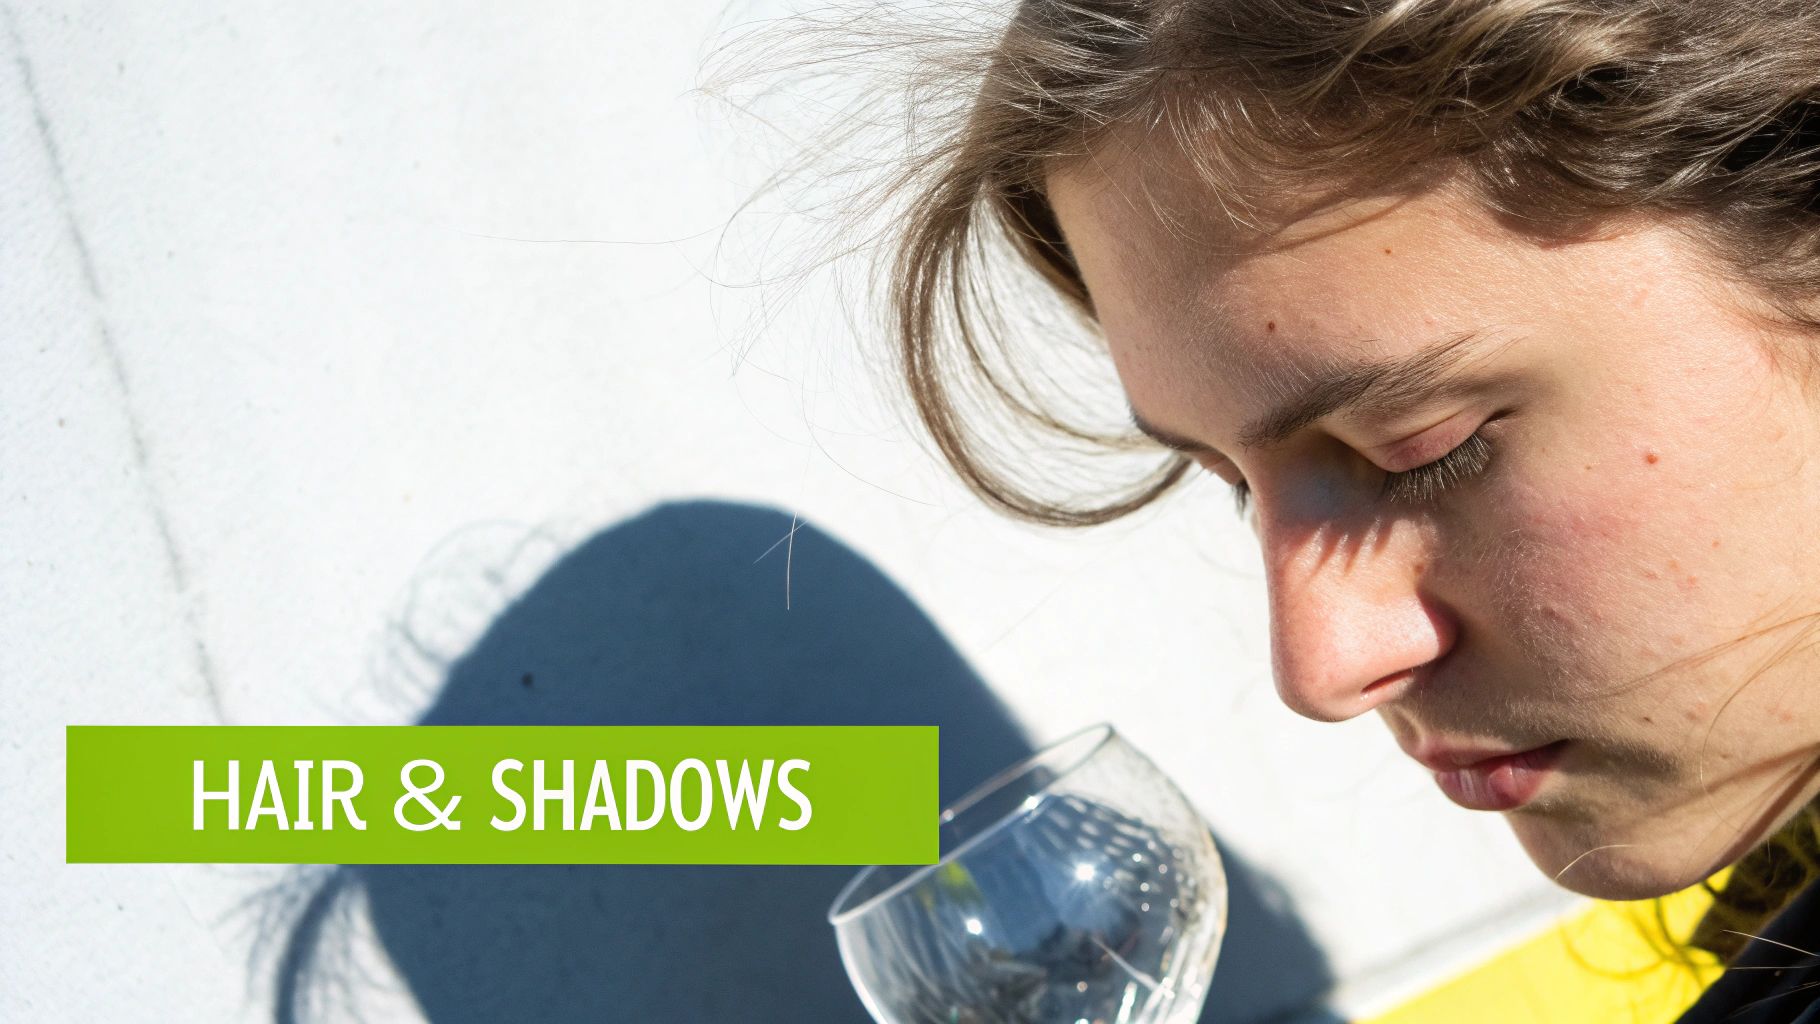
Here’s a practical workflow I use all the time:
- Start with AI: Get your initial cutout from an AI background remover. It will nail the solid parts of your subject perfectly.
- Refine the Edges: In a program like Photoshop, jump into the Select and Mask workspace and grab the Refine Edge Brush.
- Paint Over the Hairline: Gently paint along the edges of the hair. The software is smart enough to analyse the pixels and separate the fine strands from what’s left of the old background.
The real secret to realistic hair cutouts isn’t a perfectly sharp line. It’s about feathering the selection just enough to keep that soft, natural transition. That’s what sells the entire effect.
How to Preserve Natural Shadows
When you zap a background, you often lose the natural shadow the subject was casting. This leaves your object looking like it’s floating awkwardly in its new setting. Instead of getting rid of the shadow, you can preserve it to add realism and anchor your subject in the new scene.
This technique is most effective when the original photo was shot on a simple, light-coloured surface. Use your selection tools to carefully isolate both the subject and its shadow. Next, put the shadow on its own layer and set the blend mode to “Multiply.” This makes the shadow semi-transparent, so it interacts naturally with whatever new background you place underneath.
For a deeper dive into making objects look at home in new environments, check out our guide on how to match lighting to an object using AI.
Handling Transparent Objects
Glass, water, and clear plastic can be a real headache. You don’t want to make them look solid and fake, but you also can’t have the old background showing through. The trick is all about managing opacity.
Instead of a hard cutout, you need a semi-transparent mask. A great way to do this is to select the transparent object, but instead of deleting the background, fill that selection on a layer mask with a shade of grey. Remember how masks work: pure black makes the area completely invisible, while pure white makes it fully visible. Using a 50% grey will make that part of the object 50% transparent, giving you that perfect see-through look while scrubbing the original background details. This simple technique keeps the illusion of transparency and makes the object feel real in its new home.
You’ve just spent all this time perfectly cutting out your image, and now comes the final—and most critical—step. All that hard work can be undone in a single click if you save it in the wrong file format. Getting this right is what makes your image truly ready for any project.
The absolute classic mistake is saving your new image as a JPG (or JPEG). While it’s brilliant for keeping photo file sizes small, JPGs simply don’t understand transparency. If you choose this format, your software will automatically slap a solid white background onto it, and you’re right back where you started.
Choosing a File Format That Keeps Your Background Transparent
So, how do you preserve that transparency? You need a format that supports what’s called an alpha channel. Think of it as an extra layer of data that tells each pixel how transparent it should be. The main contenders here are PNG, GIF, and TIFF, but they each have very different jobs.
- PNG (Portable Network Graphics): This is your go-to format for almost anything web-related. It uses lossless compression, which means it doesn’t degrade the quality of your image, and its support for transparency is fantastic. For the best results with smooth, clean edges, always opt for a PNG-24.
- GIF (Graphics Interchange Format): GIFs do support transparency, but they come with a big catch: they’re limited to only 256 colours. This often leads to jagged, pixelated edges and a cheapened look. Unless you’re making a simple animation, it’s best to steer clear of GIFs for modern cutouts.
- TIFF (Tagged Image File Format): If you’re working in professional print, TIFF is the gold standard. It’s a powerful, lossless format that holds onto all of your image data and layers. The downside? The file sizes are massive and completely impractical for web use.
Choosing the right file format isn’t just a technicality—it’s what turns your image into a versatile creative asset. A PNG with a proper transparent background can be dropped into any design, website, or video without a second thought.
This whole process, from the initial cutout to the final save, is changing how creative work gets done. In India, for instance, a whopping 62% of ad agencies now rely on AI editors for these kinds of tasks. They’ve seen a 45% jump in efficiency, mainly because tedious background removal is now automated. That speed is a game-changer in a market where visual appeal drives 75% of an ad’s success, a trend you can read more about in recent AI photo editing reports.
Of course, the final result is only as good as your starting image. If you’re working on high-resolution projects, it’s vital to start with a high-quality photo. Our guide on how to upscale an image can show you how to prep your files for the cleanest possible cutout.
Common Questions About Background Removal
As you get more comfortable with removing backgrounds, you’ll inevitably run into a few tricky situations. Let’s tackle some of the most common questions that pop up, so you can solve problems quickly and get a professional finish every time.
Can I Remove The Background From a Low-Resolution Image?
You can, but I wouldn’t recommend it. When an image is low-resolution, its edges are soft and pixelated. This makes it almost impossible for any tool, whether it’s an AI or your own hand, to make a clean cut. The result usually looks jagged and amateurish.
A much better approach is to run the picture through an AI image upscaler before you try to remove the background. This sharpens up the details and gives the removal tool a clear, defined edge to work with. The difference in quality is night and day.
What’s The Best Way to Handle a Really Busy Background?
When you’re faced with a chaotic, cluttered background, trying to trace everything manually is a recipe for a headache. The most efficient method is a two-step process.
First, use a one-click AI tool to do the heavy lifting. It’ll probably get 90-95% of the background gone in seconds. Then, take that image into an editor like Photoshop or GIMP for the final touches. You’ll only need to clean up the small, tricky bits the AI might have missed, saving you a ton of time while still giving you precise control.
The smartest workflow is to let AI handle the bulk removal and then use your own skills for the final polish. It’s the perfect blend of speed and precision.
How Do I Add a New Background to My Image?
Once you have your subject isolated on a transparent background and saved as a PNG file, this part is easy. You can even speed things up by using a background replace tool to instantly place your subject into a new scene without manual layering.
Just open your subject in any editing program that uses layers. Place your new background image on a separate layer, and simply drag that layer so it sits underneath your subject’s layer. Now you can move, resize, and tweak each one independently until you get the perfect composition. It’s the foundational trick for all kinds of creative composites.
Remove Background from Image Now.
Ready to create stunning visuals in seconds? Glima AI provides a full suite of powerful, easy-to-use tools, including an instant background remover, to help you bring your ideas to life. Start creating for free at Glima AI.