

So, you've got an idea for an anime character buzzing around in your head. Getting it from a vague concept to a finished piece of art might seem daunting, but it really boils down to three key phases: dreaming up the idea, nailing the design, and polishing it to perfection. This guide will walk you through that entire journey, blending classic character design wisdom with the power of modern AI.
Bringing Your Anime Character to Life
Let's dive into a complete walkthrough for creating your own unique anime characters, specifically designed for today's creators. We're going to mix timeless design principles with incredible AI tools like Glima AI, giving you a clear path from start to finish. We'll kick things off with brainstorming your character's core identity and wrap up with a polished, project-ready illustration. You don’t need to be a seasoned artist—we’ll show you how AI makes this whole process feel intuitive and accessible, whether you're a hobbyist or a professional.
This simple visual breaks down the creative journey into three manageable steps.
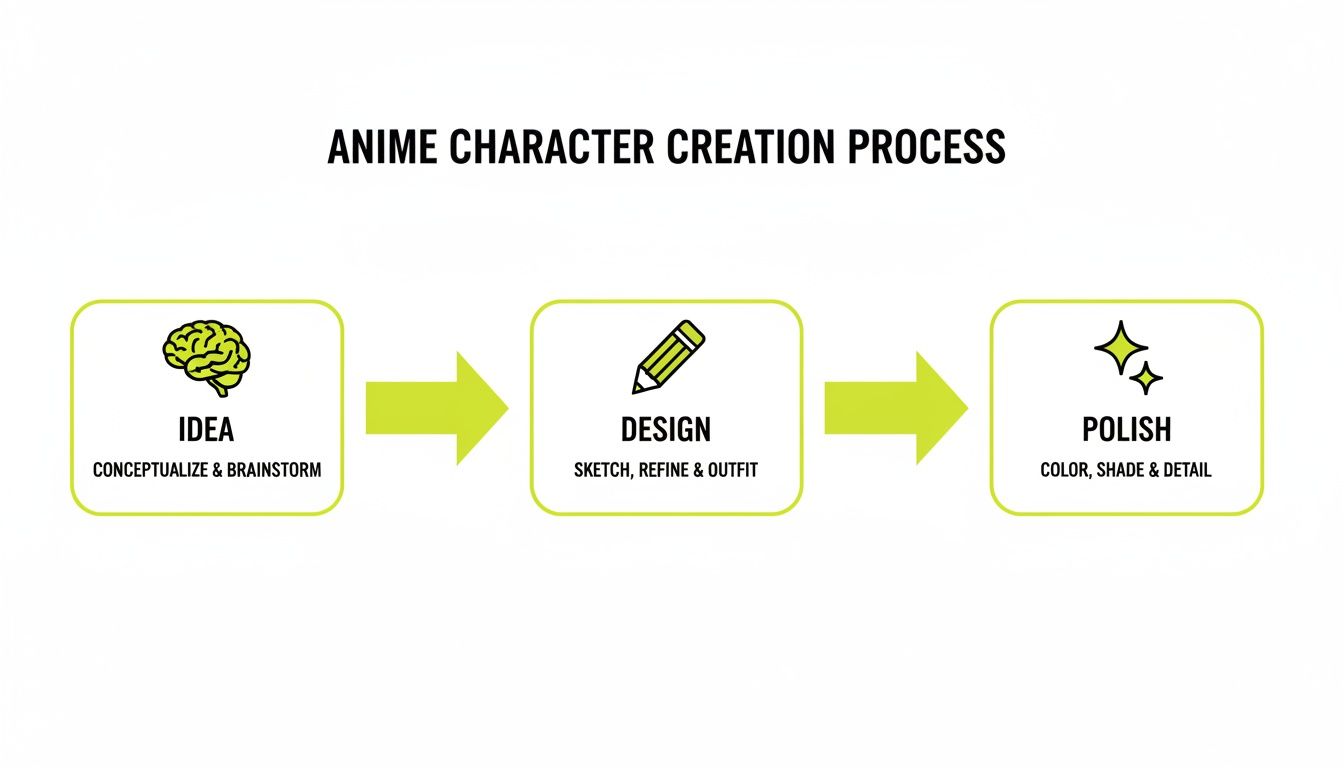
As the chart shows, a strong concept is always the foundation. From there, it's all about focused design and continuous polishing—a workflow that Glima AI is perfectly built to handle.
Understanding the Modern Creative Process
Anime's incredible global reach has a huge impact on how we approach character design. As of 2023, India alone was home to over 150 million anime fans, making it the second-largest market in the world. This boom directly influences creative choices. A recent study involving 200 Indian graphic designers revealed that 67% of them base their design process on styles from popular, trending series.
This tells us something crucial: understanding current trends is a big deal. For your character to resonate, they need to feel both original and familiar enough to connect with an audience that knows their stuff. Whether it’s for a personal story, a marketing campaign, or a new webcomic, the core principles never change:
- A Strong Core Concept: Who is your character? Give them a personality, a history, and clear motivations.
- Distinct Visual Identity: Settle on an art style, a defining colour scheme, and those standout features that make them unique.
- Iterative Refinement: This is where the magic happens. Tweak poses, expressions, and details until everything feels just right.
The most memorable anime characters are a perfect fusion of compelling narrative and iconic visual design. Think of the AI as your co-pilot; you provide the vision, and it helps you execute the technical aspects with speed and precision.
Before we dive into the nitty-gritty of creating your character, it's helpful to see the entire process laid out. Here’s a quick summary of the workflow we'll be following.
The Anime Character Creation Workflow at a Glance
This table breaks down the entire process into distinct stages, outlining what you need to achieve in each one and the main action you'll be taking.
| Stage | Objective | Key Action |
|---|---|---|
| 1. Ideation & Planning | Define the character's personality, backstory, and core traits. | Brainstorming and gathering visual references for inspiration. |
| 2. AI-Powered Design | Generate the character's visual appearance based on your concept. | Writing detailed prompts and using multi-reference generation in Glima AI. |
| 3. Iterative Refinement | Fine-tune the character's pose, expression, clothing, and colours. | Modifying prompts and using inpainting/outpainting to perfect details. |
| 4. Smart Editing | Polish the final image by removing backgrounds, upscaling, and cleaning it up. | Using integrated AI editing tools for professional-level touch-ups. |
| 5. Finalisation & Export | Prepare the finished artwork for its intended use, like social media or projects. | Exporting in the correct format and resolution for different platforms. |
This structured approach ensures you cover all the bases, moving smoothly from a rough idea to a high-quality, finished character.
Tools like Glima AI have truly changed the game, allowing anyone to bring a solid idea to life visually without needing years of drawing practice. To get a wider perspective on how AI is shaping creative work, check out this guide to the best AI tools for content creators. Our focus here is to give you that foundational knowledge first, setting you up for success before you even type your first prompt.
Building Your Character's Foundation Before the AI
It’s tempting to dive right into an AI image generator and start typing, but that’s like trying to build a house without a blueprint. You might get something that looks cool, but it won’t have the structure or soul that makes a character truly stick with you. The real magic of creating a memorable anime character happens before you even write a single prompt.
This groundwork is what separates a generic, forgettable design from an icon who feels like they could step right off the screen. By figuring out who your character is on the inside, you give the AI the potent, specific details it needs to bring their look to life.
Defining Your Character's Core Identity
Forget about colours and clothes for a moment. First, you need a personality. Are they a stoic, battle-hardened warrior weighed down by a tragic past? Or maybe they're a cheerful, clumsy magic-user who sees the best in everyone. Nailing this down establishes their archetype, which is basically a narrative shortcut for their actions and goals.
Think about their core traits and how they clash or combine. A character who is both brilliant and lazy will carry themselves very differently from one who is brilliant and ambitious. This isn't about writing a novel; it's about creating a cheat sheet for their soul.
A good starting point is to jot down a few notes:
- Personality: List three to five key adjectives. (e.g., Cynical, resourceful, secretly sentimental).
- Motivation: What’s their single most important goal? (e.g., To find their lost sibling, to become the world's greatest chef).
- Flaws: What holds them back? (e.g., Crippling self-doubt, a terrible sense of direction, trusts people too easily).
These simple points become your secret weapon for prompt writing. Instead of just asking for a "sad girl," you can now prompt for "a girl with a cynical expression, her shoulders slumped in exhaustion." That kind of specific detail comes directly from this planning phase.
The strongest character concepts are often built on compelling contradictions. Think of a gentle giant, a villain who loves animals, or a hero with a dark secret—these internal conflicts make a character feel real and give your visual design a powerful story to tell.
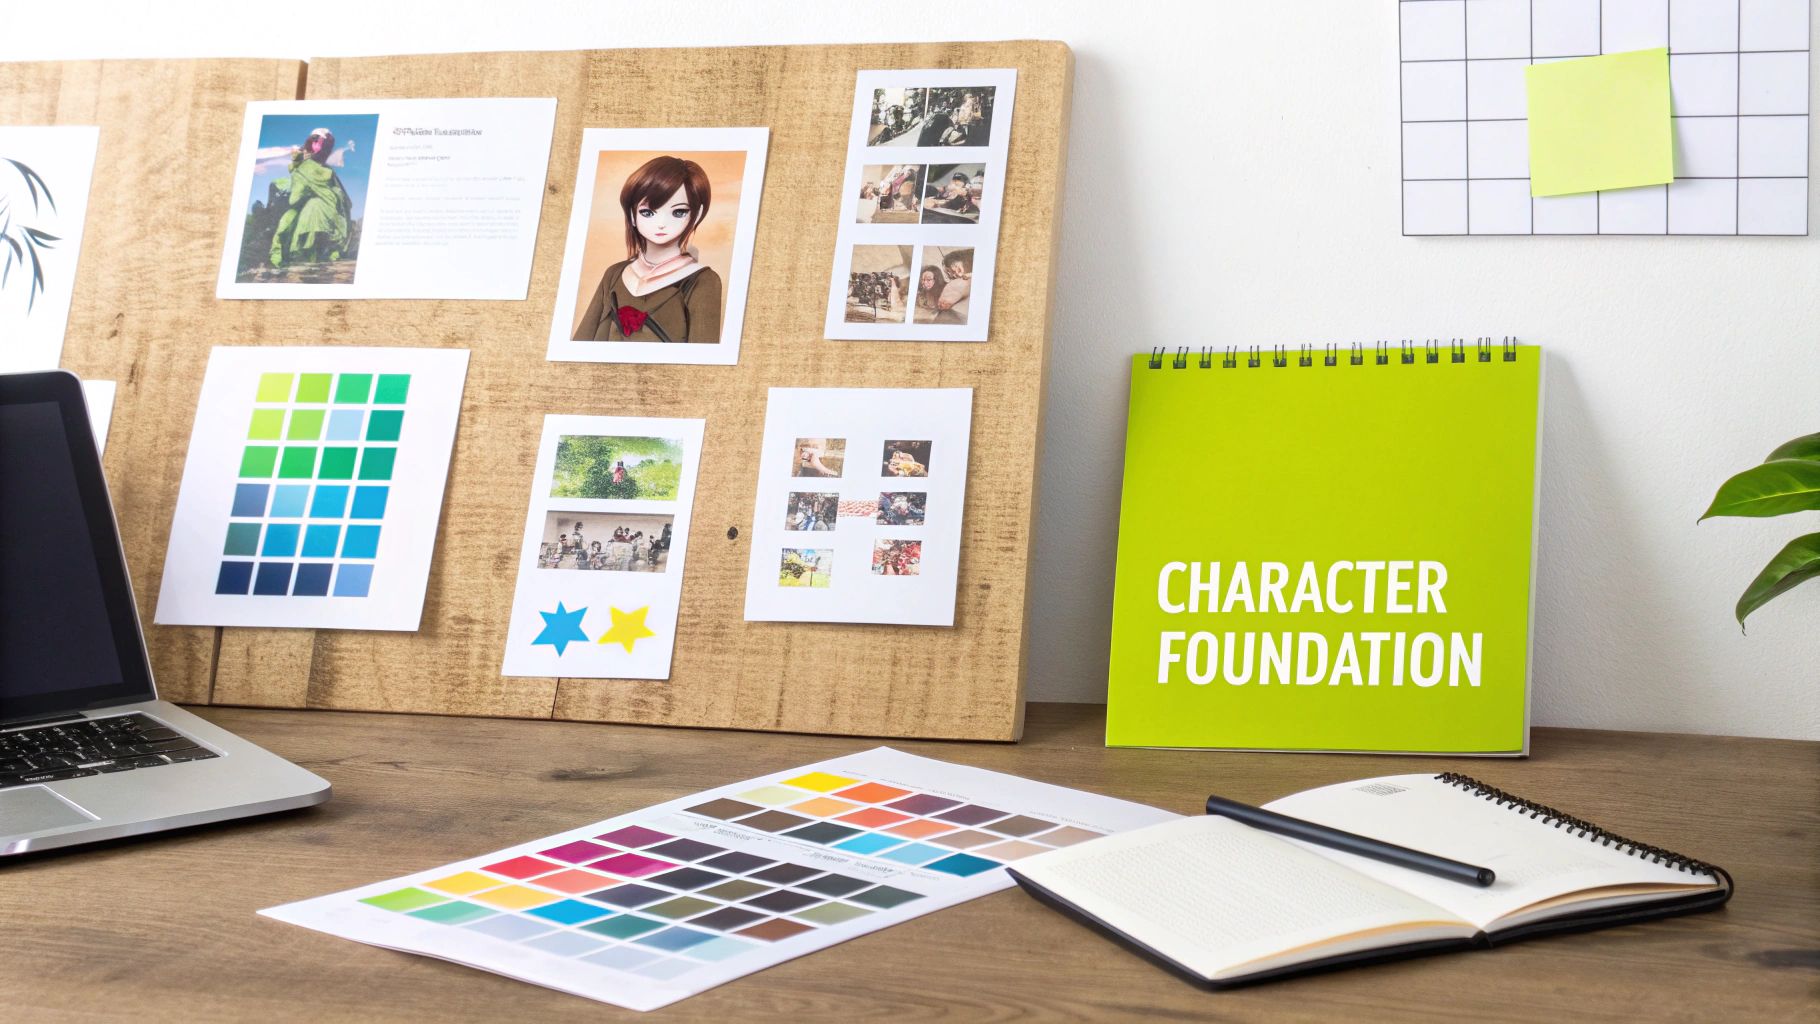
Gathering Visuals and Building a Mood Board
With a personality in place, it’s time to hunt for visual inspiration. A mood board is more than just a collage of nice pictures; it’s a focused collection of ideas that will become your aesthetic guide. This visual library keeps you on track and helps you sharpen your vision.
Start pulling images that resonate with your character’s identity. And don't just look at other anime characters! Check out real-world fashion, historical architecture, natural landscapes, and colour palettes. For a futuristic cyberpunk character, your mood board might be a mix of neon cityscapes, high-tech fashion designs, and close-ups of circuitry.
Here’s a quick breakdown of what to gather:
| Element | Purpose | Example |
|---|---|---|
| Colour Palette | Sets the mood and hints at personality. | Warm, earthy tones for a gentle, nature-loving character. |
| Fashion & Clothing | Communicates their background and lifestyle. | Worn, practical leather armour for a seasoned adventurer. |
| Key Poses | Shows their attitude and confidence. | A bold stance with hands on hips vs. a shy, hunched-over posture. |
| Facial Expressions | Reveals their inner emotional world. | A sly smirk, a wide-eyed look of wonder, a determined grimace. |
This collection becomes your visual compass. Whenever you feel stuck or the AI generations start to drift, you can always come back to your mood board to get re-centred. Building this strong foundation is crucial, and you can learn more about how Glima AI turns these concepts into a stunning AI character portrait in our dedicated guide. With this prep work done, you’re ready to translate your vision into effective AI prompts.
Writing AI Prompts That Actually Work
Alright, you’ve got your character concept locked down and a mood board full of inspiration. Now comes the fun part: translating that vision into a language the AI can understand. This is where your abstract ideas become tangible art, and it’s less about magic and more about structure. Trust me, it’s a skill you can definitely learn.
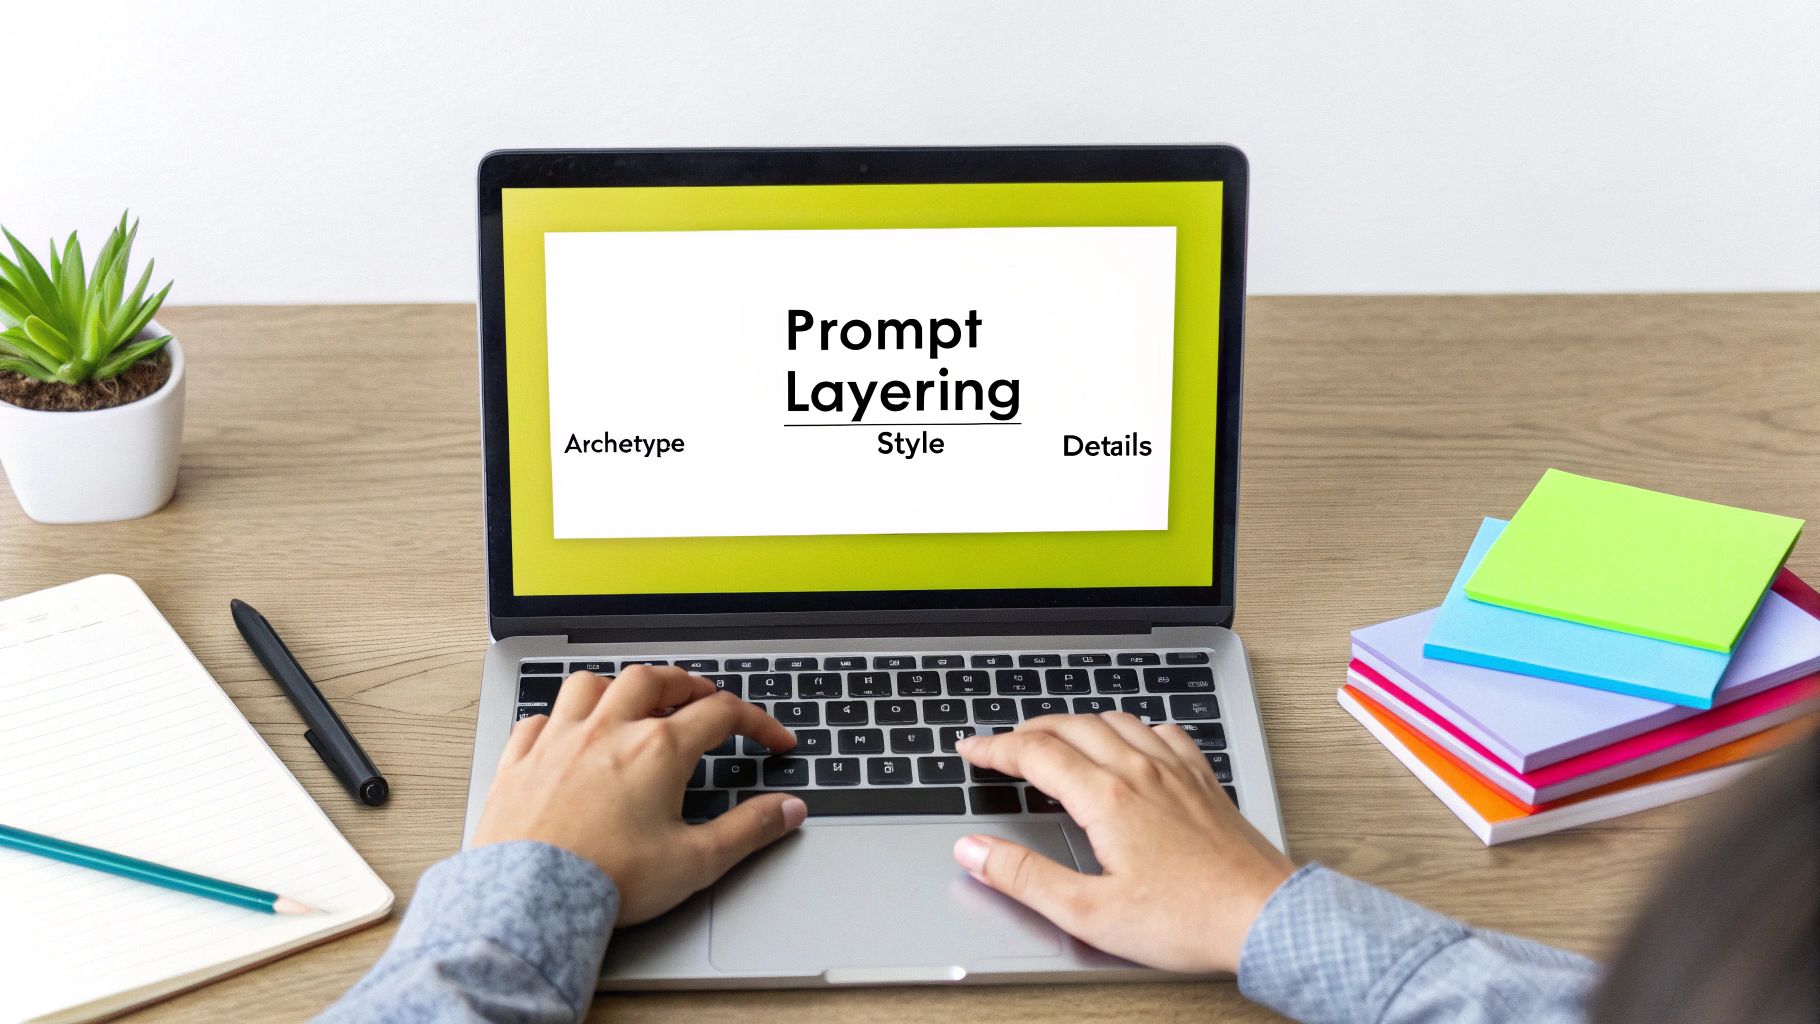
Forget just typing “anime girl” and hoping for the best. To really get Glima AI to create what’s in your head, you need to use a technique I call ‘prompt layering.’ Think of it as stacking different bits of information to build a clear, detailed instruction. It’s the difference between a generic, forgettable image and a character that feels uniquely yours.
It’s like giving directions. “A warrior” is a start, but it’s vague. But what about “a stoic female samurai with a scar over her left eye, wearing deep blue armour, standing in a misty bamboo forest at dawn”? That gives the AI a clear roadmap to follow.
The Anatomy of a Powerful Prompt
A really great prompt is built from a few key ingredients. When you combine them, you create a rich set of instructions that leaves very little up to chance. Let’s break down the essential building blocks you’ll want to weave into every prompt.
A solid prompt generally has four layers:
- Core Identity: This is the ‘who’. It’s your character’s basic archetype. Example: “Indian warrior princess.”
- Style Descriptors: This is the ‘how’. It sets the artistic vibe, from a broad genre to a specific artist’s influence. Example: “Modern shoujo style, expressive eyes, dynamic line art.”
- Specific Details: These are the ‘whats’. This is where you add unique physical traits, clothing, and accessories. Example: “Wearing a futuristic sari with gold embroidery, intricate henna patterns on hands.”
- Mood and Action: This is the ‘where and why’. It defines the scene, the pose, and the overall feeling. Example: “Standing confidently in a neon-lit Delhi street at night.”
Put it all together, and you get a comprehensive command: “Indian warrior princess, modern shoujo style, expressive eyes, dynamic line art, wearing a futuristic sari with gold embroidery, intricate henna patterns on hands, standing confidently in a neon-lit Delhi street at night.”
This level of detail is exactly how you get a character that’s both original and visually striking. Getting familiar with the best AI content creation tools out there can also seriously improve your results and make the whole process smoother.
From Simple to Complex: Prompt Examples in Action
Let’s look at how this layering actually works. You’ll see how adding more detail progressively transforms a generic idea into a specific, compelling character.
Simple Prompt (Way too vague):anime wizard
This will give you something pretty bland and stereotypical. It’s just a core idea with nothing else to go on, so the AI will fall back on the most common, uninspired designs.
Intermediate Prompt (Getting warmer):anime wizard, 90s retro anime style, wearing ornate purple robes with star patterns, holding a glowing crystal staff, long white hair
Much better. Now we’ve specified a distinct visual style and added crucial details about the character’s look and props. This gives the AI much more direction.
Complex Prompt (Now we’re talking!):A wise old anime wizard with a long white beard, 90s retro anime aesthetic, cel-shaded, wearing ornate deep purple robes with silver star embroidery, holding a glowing crystal staff that illuminates his determined face, standing in a library filled with ancient scrolls, dramatic lighting from a high window.
This prompt has it all: identity, style, specifics, action, and setting. It tells a whole story, which lets Glima AI generate something far more professional and evocative. Every single word has a job to do.
Think of prompting as a conversation with the AI. You provide a detailed brief, and it gives you its visual interpretation. The more detailed you are, the closer the final image will be to what you imagined.
The Power of Nailing the Style
Choosing the right style descriptors is absolutely essential. “Anime” isn’t one single look; it’s a huge medium with dozens of sub-genres and aesthetics. If you want a modern, popular look, you have to be specific.
Creative trends back this up. In a study of Indian animation students, 78% said they now use anime-inspired elements like exaggerated, expressive eyes in their own work. What’s more, a huge 92% said they focus on the bold, asymmetrical outlines made popular by hit series.
Here are a few stylistic modifiers to get you started:
- By Era: “80s mecha anime style,” “early 2000s shoujo aesthetic,” “modern webtoon style.”
- By Genre: “Dark fantasy seinen manga style,” “slice-of-life iyashikei anime,” “vibrant shonen action series.”
- By Artist/Studio: “In the style of Studio Ghibli,” “inspired by the art of Yoshitaka Amano,” “Makoto Shinkai-esque background.”
Keeping Your Character Consistent with Multi-Reference Generation
One of the trickiest parts of AI art is keeping a character looking the same across different images. They might look perfect in one render and like a completely different person in the next. Glima AI has a brilliant solution for this: multi-reference generation.
This feature lets you upload one or more base images of your character to act as a visual guide for everything you generate next. The AI analyses the key features from your references—like face shape, hair colour, and clothing—and works to replicate them in the new image.
For instance, once you’ve got that perfect portrait of your “Indian warrior princess,” you can upload it and use a new prompt like: “Character from reference image, sitting on a rooftop overlooking the city, contemplative expression, cinematic lighting.”
The AI will then create a new scene that changes the pose and mood while keeping your character’s core appearance intact. This is an absolute game-changer for storytellers, marketers, or anyone who needs a set of images with the same character. For a deeper dive, our guide on the Glima https://glima.ai/image-generator/ai-anime has even more techniques to master this.
Refining and Iterating Your AI-Generated Designs
Getting that first image back from the AI is a great feeling, but it’s almost never the final shot. Think of that initial output as a fantastic starting point—a beautiful lump of digital clay. Now, the real work begins. We’re going to sculpt it into something that perfectly matches the vision in your head.
This is the iterative loop, and it’s where you truly take the driver’s seat. A common mistake I see newcomers make is to ditch an entire generation and start from scratch just because one or two things are off. Glima AI is designed to work with you, not against you. Instead of hitting reset, you guide it with small, targeted changes. It’s a much smarter, and frankly, more satisfying way to create.
Fine-Tuning with Variations
So you’ve generated a character you really like, but maybe the expression is a little blank or the pose feels a bit stiff. Don’t throw the whole thing out! We can use variations to nudge the AI in the right direction while keeping the parts you love.
You’ll hold onto your original prompt and just tweak a few key phrases. It’s amazing how much of a difference a few words can make.
For instance, you could try these small adjustments:
- To liven up the mood: Swap out “a neutral expression” for “a joyful, wide-eyed smile” or maybe “a pensive, thoughtful gaze.”
- To create action: Change “standing still” to “in a dynamic action pose, mid-jump” or something more casual like “casually leaning against a wall.”
- To experiment with style: Switch “wearing a red jacket” to “wearing a deep blue jacket” and see how it completely changes the character’s vibe.
This approach lets you explore different creative paths incredibly fast without losing the core identity you’ve already established. It’s a fundamental skill for developing a character with real depth.
Remember, your first generation isn’t a failure if it’s not perfect. It’s a successful test. Iteration is all about building on that success and closing the gap between what the AI gave you and what you actually want.
Regenerating Specific Details with Inpainting
We’ve all been there: 95% of the image is absolutely perfect, but one tiny detail is throwing everything off. Usually, it’s the hands. AI has a notorious issue with hands. This is where a secret weapon comes in: inpainting. It allows you to select just one part of the image and regenerate it. If you want to get really good at fixing these little flaws, you can learn more about AI inpainting and turn pro.
Let’s say your character is holding a sword, but the hilt looks like a melted blob. Instead of risking the entire image—and that perfect facial expression you finally nailed—you can just mask the sword. Then, you feed the AI a new, super-specific prompt for that tiny area, like “ornate, detailed katana hilt with a red tassel.” Glima AI will redraw only that part, blending it seamlessly.
This is my go-to technique for fixing common AI quirks:
- Fixing Hands: Mask the problem hand and simply prompt for “a well-drawn, relaxed hand.”
- Changing Accessories: Select a necklace and tell it to create “a simple silver locket.”
- Correcting Clothing: Mask a weird-looking shirt collar and prompt for “a sharp, modern lapel.”
Adjusting Camera Angles and Lighting
Beyond the character itself, you can iterate on the entire composition to make it more powerful. The right camera angle or a different lighting setup can completely transform the mood and impact of your artwork.
You need to start thinking like a photographer or a film director. A simple straight-on shot is fine, but why not try something more cinematic? Regenerating with prompts that specify the “camera work” can yield some incredible results.
Give these modifiers a shot:
| Camera Angle Modifier | What It Does |
|---|---|
| "Low-angle shot" | Makes your character look dominant, powerful, and larger than life. |
| "High-angle shot" | Can create a sense of vulnerability or make the character seem smaller. |
| "Dutch angle" | Tilts the camera to create tension, unease, or a feeling of dynamic action. |
| "Extreme close-up" | Puts all the focus on the face, perfect for capturing raw emotion. |
Lighting is just as crucial. Adding simple phrases like "dramatic rim lighting," "soft morning light," or "neon backlighting" tells the AI not just what to draw, but how to light it. By playing with these compositional elements, you're no longer just making a character design; you're creating a truly compelling piece of art.
Applying the Final Polish with Smart Editing Tools
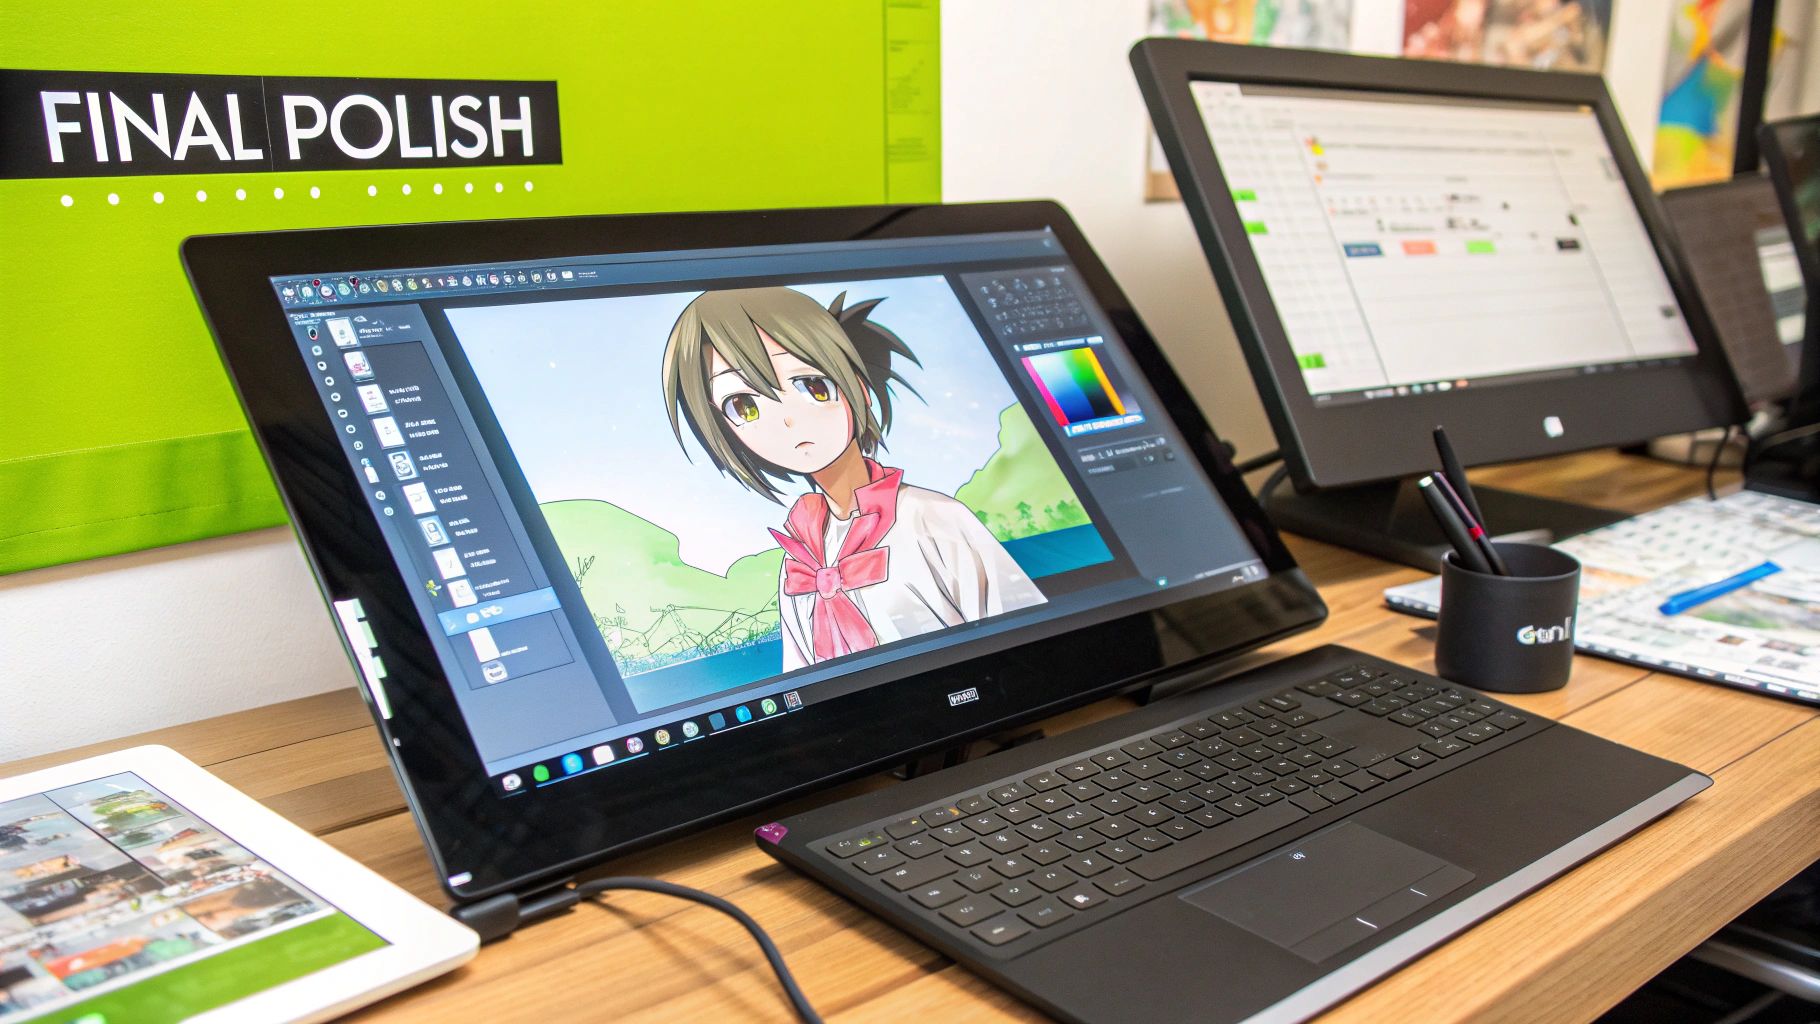
You’ve gone back and forth, tweaked your prompts, and finally settled on a design that perfectly nails your character's vibe. The hard creative work is done, but you're not quite at the finish line. Now it’s time for those final touches that take a great AI generation and turn it into a professional, versatile asset ready for anything.
This is often where the workflow gets clunky. Many creators export their image, then start juggling a bunch of different apps for background removal, upscaling, and other fixes. It’s a fragmented process that eats up time and can be a real headache. An integrated platform like Glima AI, however, keeps all these tools under one roof, so you can move seamlessly from generation to a polished final export.
Isolating Your Character with a Background Remover
So, what's next for your new character? Maybe they're destined for a website banner, a social media profile, or some new marketing material. In most cases, the busy, AI-generated background just won’t cut it—it's distracting and inflexible. This is where a one-click background remover is an absolute lifesaver.
Within Glima AI, you can take your finished image and instantly strip away the background, leaving you with a clean, isolated character on a transparent canvas. The best part? It's a non-destructive process, so your original artwork always stays safe.
This one simple step opens up a world of possibilities:
- Marketing Assets: Drop your character onto branded backdrops for ads or promotional posts.
- Web Design: Use the isolated character as a mascot or an interactive element on your site.
- Layering in Art: Easily composite your character into different scenes or build complex illustrations by layering multiple elements together.
Having this tool built right in means you don't have to break your creative stride. Forget exporting, opening another program, editing, and re-importing. The whole thing takes just a few seconds, which is a massive win in any fast-paced creative environment.
The ability to instantly isolate your character is a game-changer. It turns a single piece of art into a flexible digital asset that can be adapted for dozens of different applications, saving you hours of manual editing work.
This struggle with juggling multiple tools is a huge pain point for creators. In fact, surveys of freelance illustrators in India show that 70% find it tough to manage the technical complexity of using separate software. An integrated platform that combines generation with smart editing can slash creation time by up to 80%—a crucial edge in a competitive market.
Transforming Your Image into a High-Resolution Masterpiece
The default resolution from an AI generator is usually fine for a quick web preview. But what happens when you need it for a high-quality print, a 4K video, or a big-screen display? A standard-res image will quickly look pixelated and blurry when you try to scale it up. This is exactly what an AI upscaler is for.
Glima AI’s upscaler uses smart algorithms to boost your artwork’s resolution without killing the quality. It doesn't just stretch the existing pixels; it intelligently analyses the image and fills in new details, giving you a crisp, clean final product. You can learn more about how to enhance your images with an AI upscaler in our detailed guide.
This tool is indispensable in a few key situations:
- Printing: Get your character ready for posters, merchandise, or print publications.
- Digital Displays: Make sure your art looks sharp on high-resolution monitors and 4K screens.
- Zooming In: Preserve all those fine details when you need to crop or focus on a specific part of the image.
Sharpening Details with the Unblur Tool
Sometimes, an AI generation gets the composition perfect, but the details are just a little soft—especially around the eyes or on intricate clothing patterns. The unblur tool is your go-to fix for this. It intelligently sharpens the image, bringing key features into crisp focus and adding that final layer of professional polish.
Think of it as the final step in your quality check. A quick pass with the unblur tool ensures every line is sharp and every detail is crystal clear. This combination of integrated tools—background removal, upscaling, and unblurring—gives you total control over your final image, empowering you to create a truly finished anime character ready to take on the world.
Common Questions About Creating Anime Characters
Jumping into AI art to create your own anime character is exciting, but it can also be a bit confusing. You've got this amazing idea in your head, but getting the AI to see it the same way? That's a different story. Let's walk through some of the most common snags people hit and how to get past them.
Probably the biggest headache is consistency. You finally get that perfect portrait, but the very next image looks like a completely different person. It's a classic AI problem, but one you can definitely solve by being a little strategic.
How Can I Ensure My Anime Character Looks Consistent Across Different Images?
Consistency is all about giving the AI a strong, clear blueprint to follow. Once you establish a solid visual baseline for your character, you just need to reinforce it with every new generation.
For this, the multi-reference feature in Glima AI is going to be your secret weapon. Your first step is to generate one really strong base image—think of a clean portrait that nails your character's essential features. This image becomes your visual anchor.
From now on, for every new image you create, you'll upload that base portrait as a reference right alongside your text prompt. So, your new prompt might be something simple like, "Character from reference image, sitting at a cafe, smiling." This tells the AI to heavily prioritise the visual data from your reference, keeping the face, hair, and core colours the same, while still giving you the freedom to change up the pose and setting.
Here's a pro-tip: create a detailed "character sheet" prompt. This is just a little block of text you can save and pop into every prompt. It should list all the non-negotiable features, like "fiery red hair in a high ponytail, emerald green eyes, a small scar on the left cheek." When you combine a strong reference image with a detailed character sheet prompt, you're giving the AI both visual and text-based rules to follow. The results are dramatically more consistent.
What Are the Most Important Elements in a Prompt?
If you want a character that feels unique and doesn't just look like a generic anime trope, your prompt needs some depth. A vague prompt will always get you a vague result. The best ones layer several key elements to paint a really specific picture for the AI.
Think of it as building a character profile. The most crucial pieces are:
- Core Identity: Who are they, fundamentally? (e.g., 'cyborg ninja,' 'celestial librarian').
- Art Style: What's the overall vibe? (e.g., '90s retro anime style,' 'modern shonen manga aesthetic,' 'Studio Ghibli inspired').
- Key Features: What makes them stand out? (e.g., 'long silver hair with glowing blue streaks,' 'heterochromia eyes, one gold and one silver').
- Clothing & Accessories: What are they wearing or holding? This tells a story. (e.g., 'wearing intricate steampunk armour,' 'holding an ancient magical scroll').
- Mood & Setting: Where are they and how do they feel? (e.g., 'melancholy expression, standing in the rain,' 'confident smile, cityscape background at night').
Weaving these five elements together is what turns a basic idea into a detailed brief that the AI can actually work with.
My AI Generated Hands Look Strange. How Can I Fix Them?
Ah, the infamous AI hands. It's a notorious weak spot for many AI models, but you definitely don't have to live with wonky, six-fingered appendages.
First, try the easy fix: tweak your prompt. Adding negative prompts like '–no malformed hands, mutated fingers, extra limbs' can often clean things up on the next try.
If that doesn't do the trick, it's time for a more hands-on approach with Glima AI’s editing suite. The Magic Eraser is brilliant for this. You can simply paint over the messed-up hand to remove it. Then, using an inpainting feature, you can prompt the AI to regenerate just that small area with a focused command like 'detailed, well-drawn hand resting on a table'. It's like performing minor surgery on your image, and it works wonders.
And sometimes, the easiest fix is just a creative one. Try composing your shot so the hands are hidden—maybe they're in pockets, behind the character's back, or just out of frame. Problem solved!
Ready to stop wrestling with prompts and start creating? Glima AI pulls all the tools you need into one place, from advanced generation to smart editing, so you can bring your anime character to life without the headache. Start creating for free today!