
At its heart, an AI image prompt is simply a text instruction you give to an AI to create a picture. You're essentially translating the image in your head into words the AI can understand. It's a fascinating blend of your own creativity and the AI's ability to interpret and build upon your ideas.
From Words to Wonders: The Core of AI Image Prompting
Getting started with AI image generation is one thing, but mastering it is a whole different ball game. For anyone in a creative field—be it marketing, design, or content creation—learning how to "speak" to an AI is a powerful new skill. It’s all about communicating your vision so clearly that you get predictable, high-quality results every single time. To get a better handle on the tech that makes this possible, it’s worth brushing up on the foundational concepts of Artificial Intelligence.
This process goes way beyond just listing objects. It’s about building a deep understanding of how the AI thinks about subjects, actions, and even artistic styles. Think of a really good prompt as a detailed blueprint; it gives the AI everything it needs to construct the exact image you've pictured in your mind.
The Four Pillars of a Great Prompt
Instead of throwing a jumble of words at the AI, it’s much more effective to build your prompt piece by piece. I like to think of this as using four core pillars to support the final image. This simple framework takes out the guesswork and puts you firmly in control.
Let's break down these four essential components that every effective prompt should have. They provide the structure and detail the AI needs to bring your concept to life accurately.
| Component | What It Defines | Simple Example |
|---|---|---|
| Subject | The main character or focal point of your image. | "a wise old owl" |
| Action/Setting | What the subject is doing and where it is. | "perched on a stack of ancient books in a dusty library" |
| Style | The overall artistic look you're going for. | "digital painting, fantasy art" |
| Atmosphere/Details | The finishing touches like lighting, mood, and colour. | "warm candlelight, mysterious atmosphere, detailed feathers" |
Nailing these four elements gives your prompt a solid foundation. It's a reliable method that helps even total beginners start creating with confidence and sets the stage for trying out more advanced techniques later on.
Why Prompting Is a Skill Worth Learning
Being able to create custom visuals in seconds is completely changing how creative work gets done. What's more, this technology is becoming incredibly accessible. For instance, Google Photos recently rolled out its prompt-based editing features in India, allowing millions of people to edit photos with simple text commands in languages like Hindi, Tamil, and Gujarati. This isn't just for high-end phones anymore; it’s bringing powerful AI tools to everyone.
Mastering prompting is the difference between being a passenger and a driver. You stop passively accepting what the AI gives you and start actively directing it to produce your vision.
This level of control is invaluable. It allows for lightning-fast prototyping, creating one-of-a-kind marketing assets, and developing concept art without needing years of traditional design training. On a platform like Glima AI, a well-crafted prompt is your direct line to a nearly infinite well of visual creativity. To get a feel for the possibilities, check out the huge range of Glima AI image styles you can specify.
Developing Your First High-Impact AI Image Prompt
Alright, let's get our hands dirty. Moving from theory to practice is where the real magic happens, and the best way to grasp the power of a detailed AI prompt image is to build one from the ground up. We'll start with a dead-simple, two-word idea and see just how much we can transform the final picture by adding layers of detail.
Our starting point is as basic as it gets: "futuristic cityscape."
Pop that into an AI like Glima AI, and you’ll get something back. It'll probably be interesting, but it will almost certainly be generic. The AI has to fill in all the blanks itself—making assumptions about the style, the time of day, the mood, and the colours. What you get is a blank canvas, a starting point with no real direction.
Layering Details for a Richer Image
Now, let's start adding those crucial layers. A great technique for this is what some call 'prompt chaining', where you simply connect descriptive phrases with commas to build a more complex set of instructions. Every new piece of information you add helps to refine the AI's vision.
First up, let's give the scene some atmosphere and define the lighting. We'll evolve our prompt to this:
"Futuristic cityscape, **at night, neon-drenched streets, rain-slicked asphalt, cinematic lighting.**"
Instantly, the entire mood changes. Just by adding "at night" and "neon-drenched," you're immediately steering the AI towards a cyberpunk or Blade Runner aesthetic. The "rain-slicked asphalt" introduces texture and the potential for beautiful reflections, while "cinematic lighting" is a direct instruction to aim for a dramatic, high-contrast look. Much better.
Next, let's get more particular about the architecture and the overall artistic style.
"Futuristic cityscape, at night, neon-drenched streets, rain-slicked asphalt, cinematic lighting, **towering chrome skyscrapers with holographic advertisements, style of Syd Mead.**"
See what we did there? By specifying "chrome skyscrapers" and "holographic advertisements," we're giving the AI concrete objects to render. But the masterstroke is mentioning Syd Mead. Referencing the legendary concept artist behind films like Blade Runner and Tron gives the AI an incredibly powerful stylistic anchor. It’s worlds more effective than just vaguely saying "sci-fi style."
This simple flow—moving from subject to style and then setting—is the core of building a great prompt.
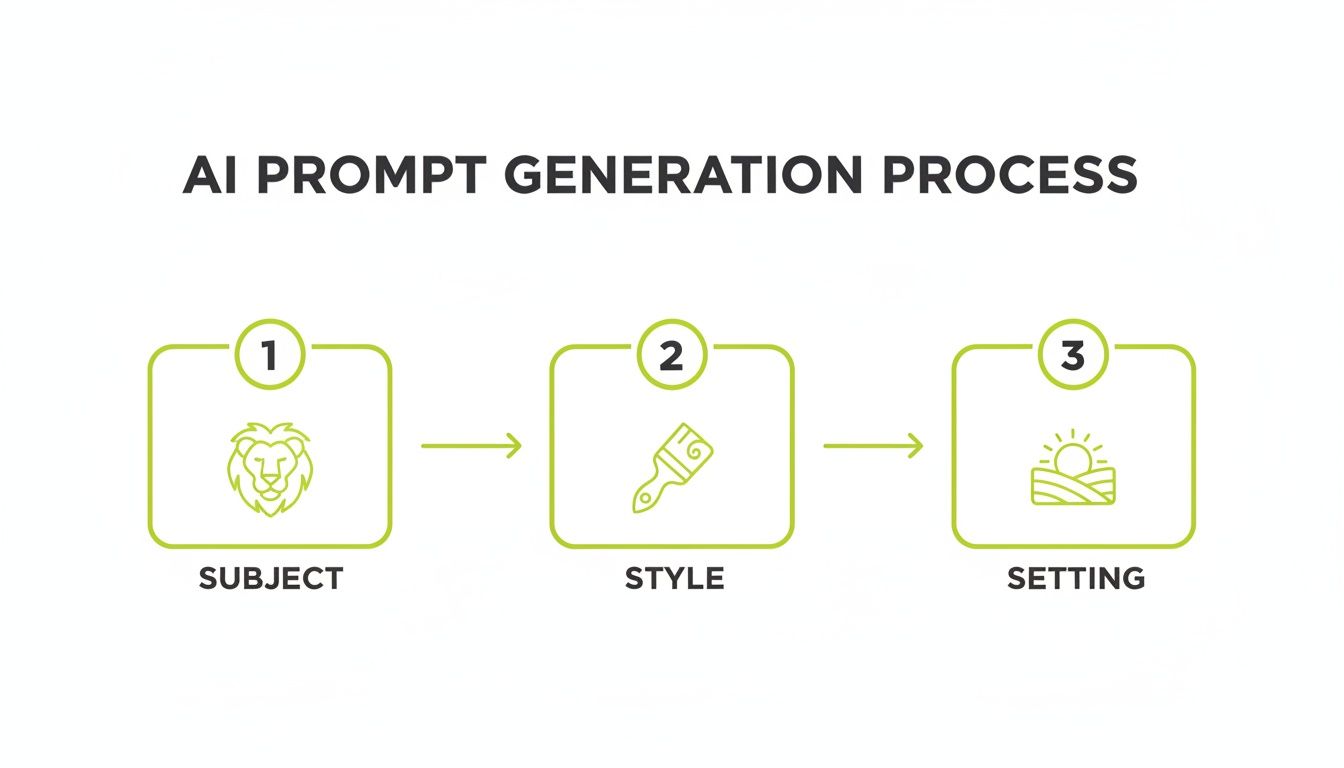
Each element builds on the last, progressively narrowing the AI's creative focus until it lines up perfectly with what's in your head.
Adding Camera and Composition Controls
If you want to create a truly professional-grade image, you need to start thinking like a photographer. Adding camera and lens details gives you precise control over the final composition and feel of the shot. Let's add one final layer.
"Futuristic cityscape, at night, neon-drenched streets, rain-slicked asphalt, cinematic lighting, towering chrome skyscrapers with holographic advertisements, style of Syd Mead, **wide-angle lens, shot from a low angle, 8K resolution, hyperdetailed.**"
Here, "wide-angle lens" immediately creates a vast sense of scale. Following it with "shot from a low angle" makes the buildings feel immense and imposing, a classic cinematic trick. Finally, "8K resolution" and "hyperdetailed" are direct commands for quality, pushing the AI to generate a crisp, intricate image without any softness.
The goal of a great prompt isn't just to describe a scene; it's to direct the AI like a film director setting up a shot. You are in control of the subject, the lighting, the style, and the camera.
Using Negative Prompts to Clean Up Results
Sometimes, what you don't want in your image is just as important as what you do. This is where a negative prompt comes in. It’s a simple list of things you want the AI to avoid. For our cityscape, we might want to prevent a cluttered or blurry result.
A good negative prompt for this might be:
blurry, grainy, oversaturated, text, watermarks, people
This straightforward instruction helps ensure the final image is clean, focused squarely on the architecture, and free of common AI-generated flaws like weird text or distracting artefacts.
By combining a detailed positive prompt with a targeted negative one, you dramatically increase your chances of getting the exact AI prompt image you're picturing on the very first try. You can see how this technique is applied across a huge range of creative and professional projects in these Glima AI use cases.
Advanced Prompting Techniques for Precise Control
Once you've nailed the basics of crafting an ai prompt image, you'll quickly realise there’s a whole other level of creative direction waiting for you. This is where you graduate from simply describing a scene to meticulously orchestrating every single detail. It's less about stuffing your prompt with more words and more about using the right words with absolute intention.
One of the most powerful tools in your kit is parameter weighting. Think of it as a way to tell the AI, "Hey, this part is non-negotiable." Most models let you add special emphasis to a word or phrase, making sure it gets top billing. Let's say your prompt is "cyberpunk warrior with a glowing katana"—that glowing sword is probably the hero of the image. By weighting "glowing katana," you tell the AI to focus its attention there, preventing it from getting lost in a busy background.
This is your secret weapon when your main subject is at risk of being swallowed by other complex elements in the scene.
Blending Styles and Influences
Here’s where the real magic happens. A truly incredible feature of modern AI is its ability to synthesise completely different ideas. You’re not stuck in one artistic lane; you can create fascinating hybrids by mashing up multiple artists, movements, or aesthetics in a single prompt. This is how you start generating images that feel genuinely new and unseen.
Imagine the creative sparks that fly when you combine disparate styles:
- "Art Deco Ghibli": You could get those lush, enchanting Ghibli-esque landscapes, but infused with the bold geometric lines and gilded details of the Art Deco era.
- "Cyberpunk Monet": Picture a rain-slicked, neon-lit futuristic city, but rendered with the soft, dappled brushstrokes and obsession with light that defined Monet’s work.
- "Baroque Sci-Fi": How about an astronaut’s portrait with the intense shadows, rich colours, and high drama of a classic Baroque painting?
This definitely requires some play and experimentation. Not every combination will be a masterpiece, but the process of discovery is part of the fun.
The table below shows how a simple prompt can evolve with more specific modifiers, giving you a better sense of this layering process.
Prompt Modifiers From Basic to Pro
| Base Prompt | Intermediate Modifier | Advanced Modifier |
|---|---|---|
| a cat | a fluffy ginger cat sitting on a windowsill | a fluffy ginger tabby cat, curled up on a sun-drenched Victorian windowsill, dust motes in the air, nostalgic, warm lighting, 85mm lens, f/1.8 |
| a car | a red sports car | a vintage 1965 red sports car, racing on a coastal road at sunset, motion blur, lens flare, dynamic angle, dramatic lighting |
| a forest | a dark forest | an enchanted, dark fantasy forest at night, glowing mushrooms, volumetric mist, moonlight filtering through ancient trees, cinematic shot |
As you can see, the advanced prompts don’t just add detail; they build a complete atmosphere and give the AI much clearer technical and stylistic direction.
Directing the Virtual Camera and Lights
To get that professional, polished look, you have to start thinking like a photographer or a cinematographer. It’s time to move beyond vague terms like “cinematic lighting” and get granular with your virtual camera and lighting rig.
Try dropping some technical photography terms into your prompts. You’ll be surprised at the difference it makes.
- Lens Types: Instead of a generic “close-up,” specify an 85mm lens for that classic, flattering portrait look with a beautifully blurred background. Or try a 35mm lens for a wider, more grounded environmental shot that feels like you’re right there in the scene.
- Lighting Setups: Don’t just ask for good lighting. Ask for Rembrandt lighting to create that iconic, dramatic portrait with a small triangle of light on the shadowed cheek. You could also request volumetric mist to make light rays feel tangible, adding a thick atmosphere to a forest or a moody city street.
Giving the AI technical commands for camera and lighting is like handing a professional crew a detailed shot list. You provide the exact parameters, and the AI executes the technical setup, resulting in a more polished and intentional image.
These advanced commands elevate your ai prompt image from a simple generation to a carefully composed piece of art. And when you need to refine those images further, knowing how to make targeted edits is just as important. For a deeper dive into making precise adjustments, check out our guide on using AI inpainting to fix small details. By pairing a powerful initial prompt with robust editing tools, your creative potential becomes virtually limitless.
Troubleshooting Common AI Prompting Issues
Even with a perfectly crafted prompt, you’ll have moments where the AI spits out something completely… weird. It’s just part of the process. You might think you’ve written the most precise instructions imaginable, only to get an image that’s wildly off the mark.
Don’t worry, this happens to everyone. The real skill isn’t just in writing good prompts, but in knowing how to diagnose and fix them when they go wrong. Most of the time, the problem comes down to one of a few common hiccups: the AI ignoring a key detail, mangling hands and faces, or just producing something that looks a bit too sterile and digital. The good news? With a few tweaks, you can solve just about all of them.
When the AI Ignores Key Details
This one is incredibly common. You specifically ask for “a knight wearing a golden helmet,” and the AI gives you a knight with a silver helmet—or no helmet at all. What gives? Usually, this means another part of your prompt is so complex that it’s hogging all the AI’s attention.
The fix is all about adding emphasis. Sometimes, just rephrasing your sentence to put the crucial detail front and centre does the trick. A more advanced technique is weighting. This is how you tell the AI, “Hey, this part is non-negotiable.” The exact syntax can vary from one tool to another, but it often looks like putting parentheses around a word or adding numbers to boost its importance.
Fixing Distorted Faces and Hands
Ah, the classic AI struggle: getting human anatomy right. We’ve all seen them—the otherwise stunning portraits ruined by distorted faces or hands sporting a horrifying number of fingers. This is where your secret weapon comes into play: negative prompts.
By telling the AI what not to create, you can steer it away from these common pitfalls. For any kind of character work, a solid negative prompt is absolutely essential.
- For hands: Try adding
deformed hands, mutated hands, extra fingers, fewer fingers, fused fingers. - For faces: I often use
ugly, deformed face, disfigured, asymmetrical eyes, poorly drawn face.
Think of it as a quality control filter. It dramatically improves your odds of getting clean, anatomically sound results right out of the gate.
Troubleshooting is really just a conversation with the AI. When it gets something wrong, you don’t scrap the whole idea. You just clarify your request, explaining what you want and, just as importantly, what you don’t.
Escaping the Generic AI Look
You know the look. The image is technically flawless, but it just feels… empty. It’s too polished, too clean, and has that signature digital sheen that screams “AI-generated.” To get away from this, you need to inject some humanity and texture back into your prompt.
Try adding phrases that suggest a more organic or artistic medium. A few of my go-tos are “subtle imperfections,” “film grain,” or “textured brushstrokes.” These little additions can make a world of difference, breaking up that sterile perfection.
And if you generate an image in Glima AI that’s 99% there but just needs that final bit of polish, you don’t have to re-roll and hope for the best. Often, all it needs is a quick resolution boost to really make the details pop. You can find out how our AI upscaler can sharpen your images to a professional quality. That final step can be what turns a good image into a fantastic one.
The Glima AI Workflow: More Than Just a Generator
Getting that initial AI-generated image is a great moment, but let’s be honest—it’s rarely the final product. Think of that first generation as your block of marble. It’s got potential, but the real artistry happens in the refinement. A professional workflow demands more than just a good starting point; it requires thoughtful editing.
This is where having an integrated system makes all the difference. Who wants to break their creative flow by downloading an image, wrestling with another app, and then re-uploading everything? It’s clunky and kills momentum.
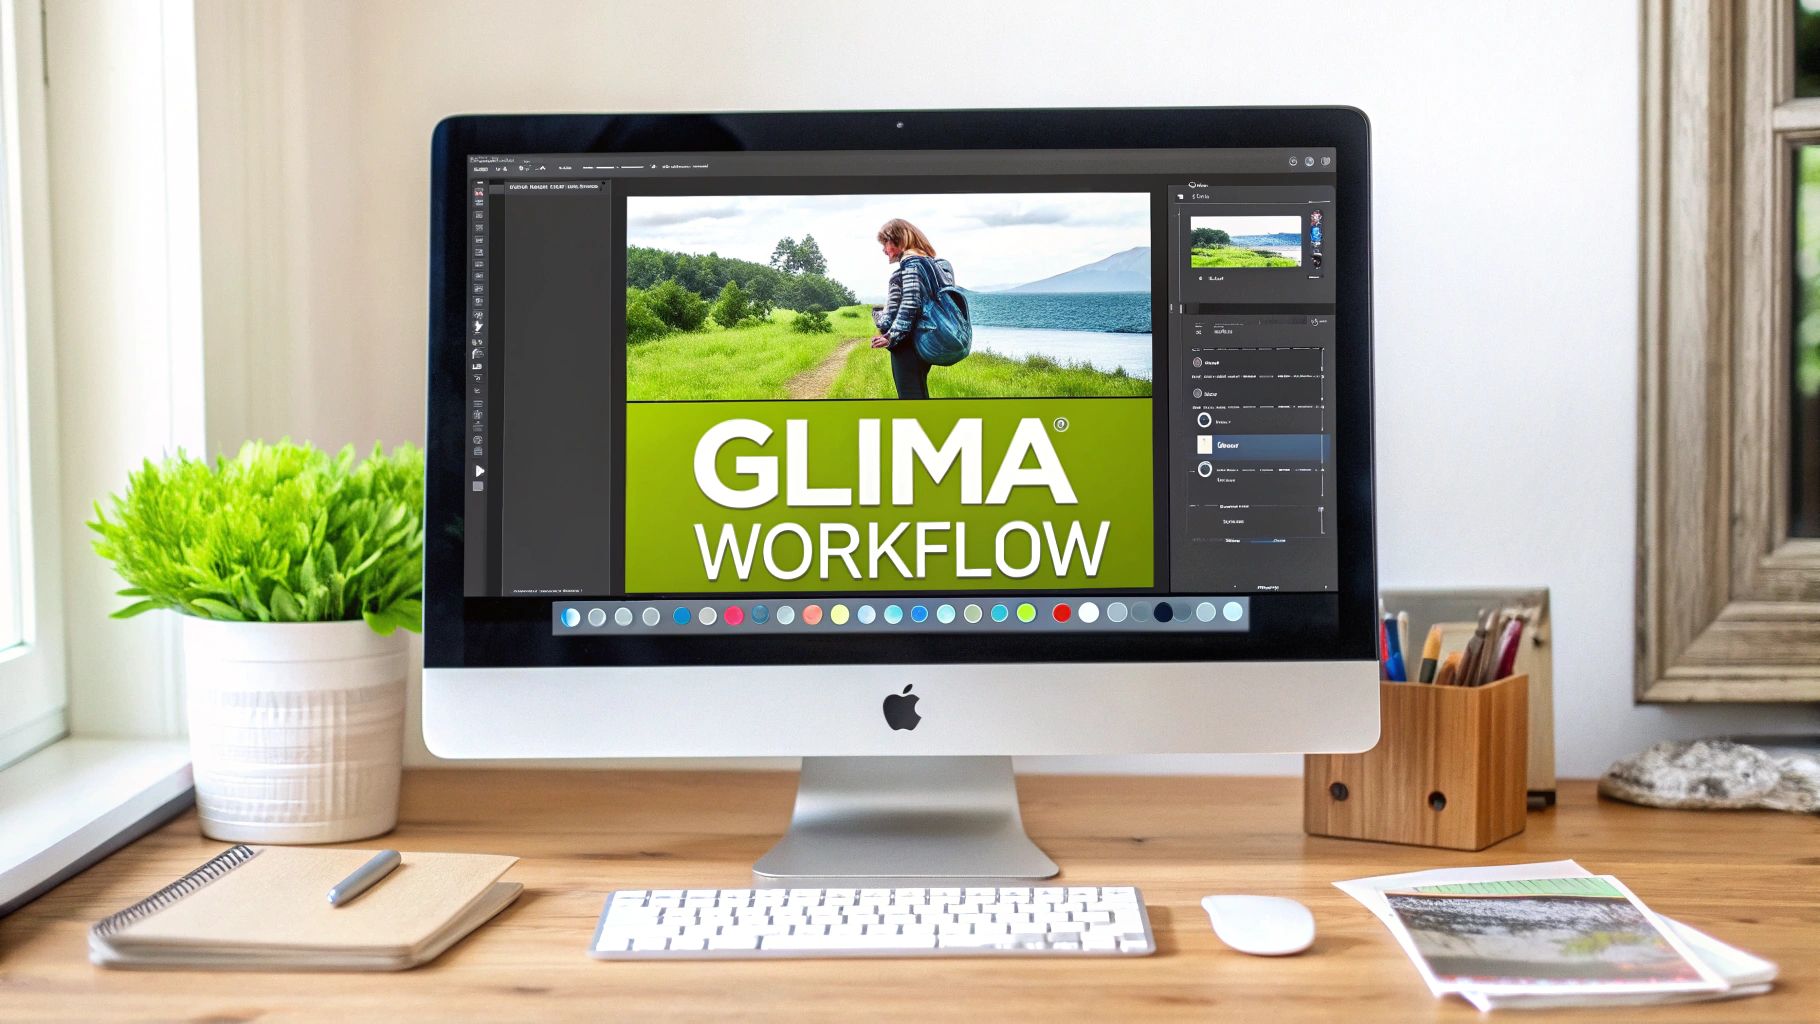
Inside Glima AI, the entire journey from idea to finished asset happens in one place. You can nail down your prompt, generate the base image, and then slide right into a powerful editing suite to perfect it without ever leaving the platform.
This cohesive design is all about keeping you in the creative zone. The idea is to reduce friction and consolidate your tools, a principle that applies across the board. For example, learning about an efficient AI workflow for content creation shows how creators in other fields are using similar integrated approaches to stay productive.
From Raw Generation to Refined Asset
Once Glima AI has worked its magic and your image is on the screen, a whole suite of post-production tools is waiting. This isn’t just about fixing mistakes; it’s about turning a good image into a purpose-built asset for your specific project.
Here’s how you can take that generated image and really make it shine:
- Isolate Your Subject: The Background Remover is a lifesaver. Need a clean product shot for your e-commerce site or a transparent character sprite for a game? One click and the background vanishes. It’s perfect for creating versatile marketing materials.
- Remove Imperfections: The AI isn’t always perfect. The Magic Eraser is your go-to for cleaning up those little quirks—a stray artefact, an odd texture, or a distracting element in the background. Just paint over the flaw, and it’s gone.
- Prepare for High-Quality Use: Is this image destined for a high-resolution screen or a print brochure? The built-in Upscaler intelligently sharpens the details and boosts the dimensions, ensuring your final asset looks crisp and professional, no matter the size.
A great workflow isn’t just about having the tools; it’s about how they work together. An integrated system means you spend less time on tedious file management and more time actually creating.
This entire pipeline—prompt, generation, editing, upscaling—is designed to be a fluid cycle. You can generate a few variations, pick the best one, make precise edits, and then upscale the final result, all within the same workspace. It’s about building a more efficient and, frankly, more enjoyable creative process from the ground up.
Got Questions About AI Image Prompts?
Once you start getting your hands dirty with AI image generation, you’ll find that a lot of questions pop up. Getting to grips with how prompts work is the real secret to moving from random outputs to consistently creating what you see in your head. Let’s walk through some of the things creators ask all the time.
One of the first hurdles is often just figuring out how much to write.
How Long Should My AI Image Prompt Be?
There isn’t a perfect number, but I’ve found that the sweet spot is usually somewhere between 15 and 40 words. If you go too short, you’re giving the AI a bit too much creative licence, which often results in something generic or completely off-the-wall. On the other hand, a super long, rambling prompt can just confuse the model, making it forget the first things you told it.
The trick is to be descriptive but also direct. I always recommend starting with your non-negotiables:
- The Subject: What’s the star of the show? A person, an object, a creature?
- The Style: Are you after a photorealistic look, a watercolour painting, or something else entirely?
- The Setting: Where is all this happening?
Once you have that foundation, you can start layering in details about the lighting, the mood, or the camera angle. Thinking about it in terms of building blocks really helps keep things focused.
Can I Use Brand or Celebrity Names?
The short answer is yes, but you need to tread carefully here.
It’s common practice to reference famous artists—something like “in the style of Van Gogh” is a fantastic shorthand for guiding the AI’s aesthetic. You can also use celebrity names to get a recognisable face, but this quickly gets into a murky ethical area around personality rights.
Using brand names, like “a person wearing Nike trainers,” can be really helpful, especially for things like product mockups. Just remember that trademarks are a real thing, and you could land in hot water if you plan to use the image commercially. My best advice? Always check the terms of service of the tool you’re using and, when in doubt, focus on creating something wholly original. It’s the safest bet.
The prompt is your direct instruction, defining what you want. The negative prompt is your quality control filter, defining what you want to avoid. Using both in tandem is the fastest way to a high-quality result.
What’s the Difference Between a Prompt and a Negative Prompt?
Understanding this is a game-changer for getting clean, polished images. Your main ai prompt image text is your creative brief—it tells the AI exactly what you want it to create. It’s where you describe your subject, style, and scene.
A negative prompt is the complete opposite. It’s a list of things you don’t want to see. This is an incredibly powerful little feature for fixing common AI quirks. For example, if you keep getting portraits with weird, mangled hands, adding “deformed hands, extra fingers” to your negative prompt can work wonders. People also use it to filter out things like text, watermarks, blurriness, or anything that looks low-quality.
Ready to put all this into practice? With Glima AI, you can generate, edit, and perfect your images all in one place, making the whole workflow incredibly smooth. Start creating for free today.