

When we talk about editing real estate photos, we’re really talking about the art of making a property look its absolute best for potential buyers. It’s more than just slapping on a filter; it’s a careful process of correcting colours, brightening rooms, and straightening walls to create professional, high-quality images that grab attention and drive serious interest in a listing.
Setting The Stage for Flawless Photos
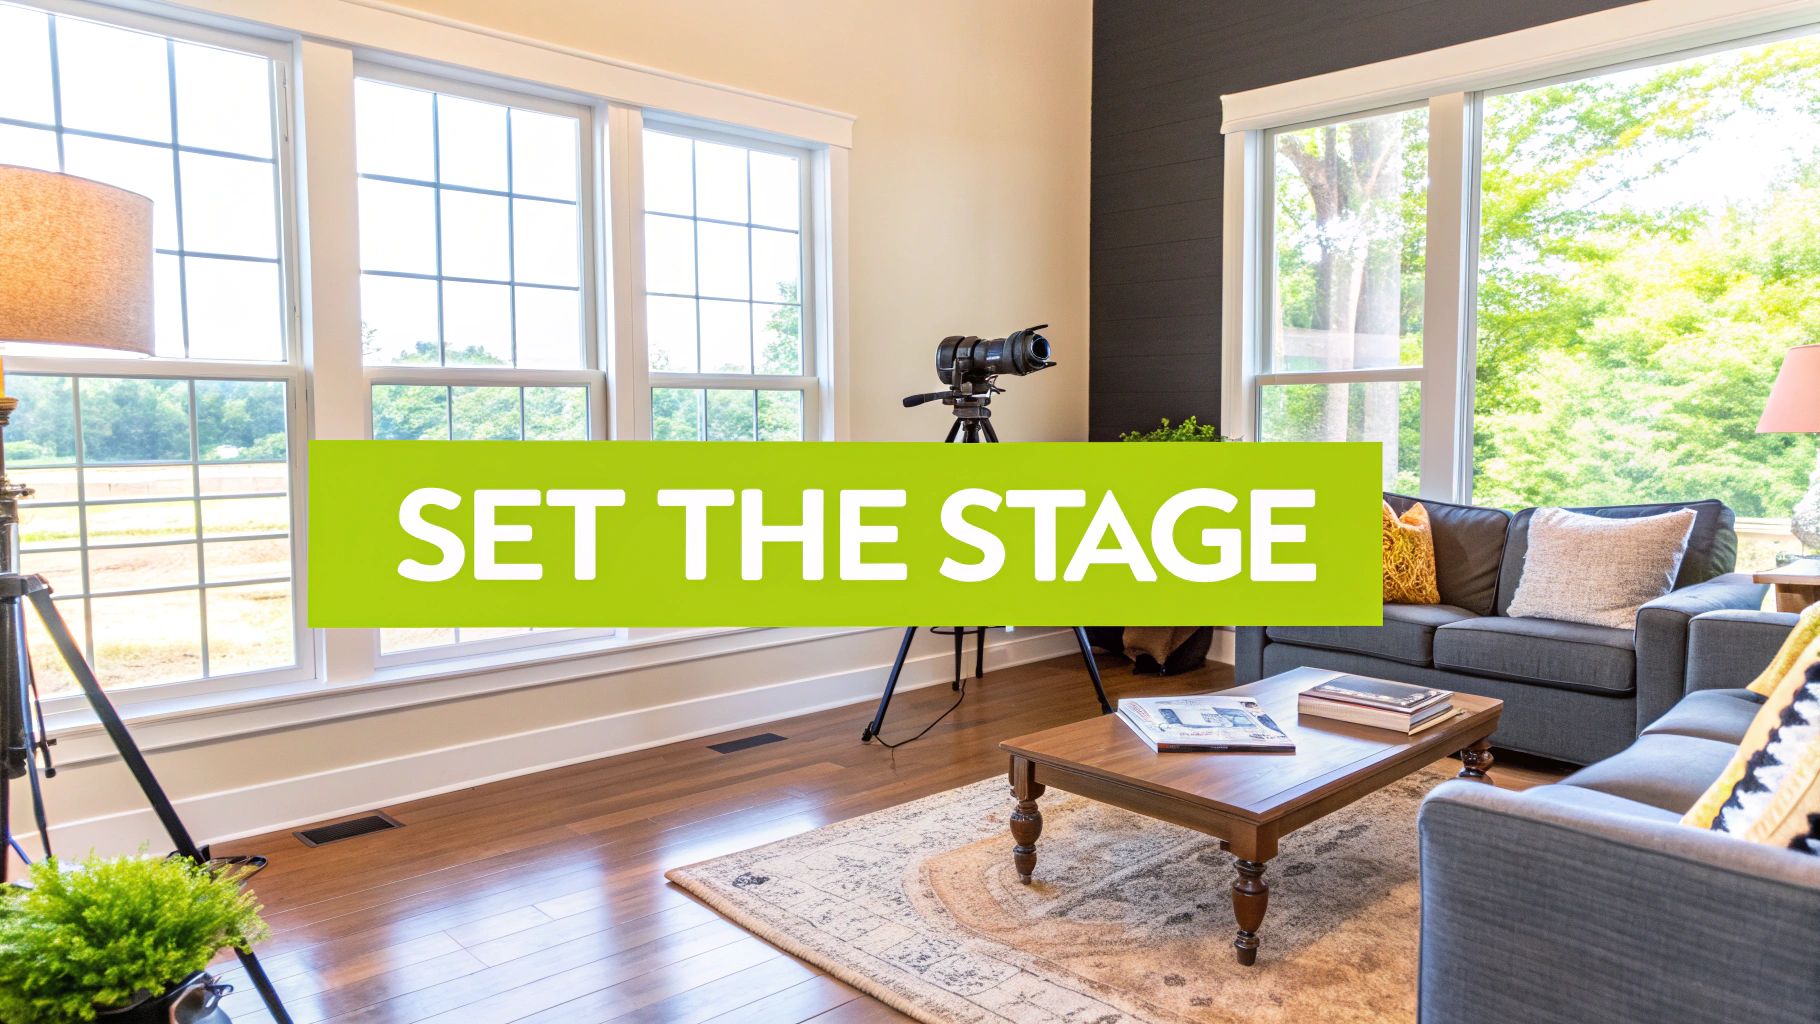
Here’s a secret that every seasoned pro knows: the best edits begin long before you even touch your software. What you do on-site, right before you press the shutter, makes the biggest difference. Getting the basics right during the shoot will save you hours of tedious work later and give you a far better starting point.
Think of it like this: are you painting a beautifully prepped canvas, or are you trying to fix a cracked and warped one? Your raw photos are that canvas. A little prep work goes a very long way.
Pre-Shoot Preparation: The Non-Negotiables
Before you even think about camera settings, you need to manage the environment itself. A clean, bright space is your best friend.
- Strategic Decluttering: Work with the homeowner to clear away personal items. Family photos, kids’ drawings on the fridge, and cluttered countertops need to go. You want buyers to imagine their own life in the space, not get distracted by the current owner’s.
- Maximise All Light: Open every blind and curtain. Then, turn on every single light in the house—ceiling fixtures, table lamps, even the under-cabinet lighting in the kitchen. This simple step creates a warm, inviting atmosphere and minimises the dark, unappealing shadows that can make a room feel small.
- Clean Every Surface: Make sure windows, mirrors, benchtops, and appliances are spotless. Dust and smudges show up with painful clarity in high-resolution photos and are a real pain to edit out later.
To take it a step further, especially for empty properties, virtual staging for real estate can be a game-changer. It allows you to digitally furnish a room, helping buyers see a home’s true potential without the cost and hassle of physical staging.
Nailing Your Camera Settings
While your camera’s auto mode might seem tempting, switching to manual gives you the control you need for professional-grade photos. This is where you separate the amateurs from the pros.
Pro Tip: If you take away one thing, make it this: always shoot in RAW format, not JPEG. A RAW file is like a digital negative; it holds all the original data from your camera’s sensor. This gives you enormous flexibility when you’re editing exposure, white balance, and colours later on. JPEGs, on the other hand, are compressed and throw a lot of that precious data away.
For most interior shots, your goal is to get everything sharp and clear. A great starting point is to set a low ISO (100 or 200) to keep noise to a minimum, and an aperture between f/8 and f/11 to ensure everything from the foreground to the background is in focus. From there, you just adjust your shutter speed until the exposure looks right.
Master Bracketing for Perfect Exposure
Let’s face it, one of the toughest parts of shooting interiors is dealing with bright windows and darker corners in the same shot. A single photo will either have a perfectly exposed room with blown-out, pure white windows, or a great view outside with a dark, gloomy interior.
This is where bracketing saves the day.
It’s a simple technique: you take several photos of the exact same scene from your tripod, but at different exposure levels. Typically, you’ll take three or five shots: one normal, one or two that are darker (to capture the details outside the window), and one or two that are brighter (to see into the shadows).
Later, in your editing software, you’ll merge these images into a single High Dynamic Range (HDR) photo. This gives you a final image that is perfectly lit everywhere, from the deep tones in the floorboards to the blue sky outside. It’s a fundamental skill for high-end results. If you’re also curious about transforming these spaces after the shoot, our guide on AI virtual staging dives into the possibilities.
Mastering Core Photo Corrections
Alright, you’ve got your RAW files prepped and ready to go. This is where the magic really starts to happen in the editing workflow. We’re going to tackle the foundational, global adjustments that set the stage for a professional-looking final image.
The trick is to apply these corrections logically and consistently across the entire shoot. Think of it less as creating a fake, stylised image and more like cleaning a window to reveal the beautiful view. You’re simply removing the small imperfections to let the home’s actual character shine through. Batch processing is your absolute best friend here, as it lets you apply the same tweaks to all the photos taken in the same room or lighting.
First Things First: Nailing the White Balance
Before you even think about touching exposure or contrast, you have to get the white balance right. This is non-negotiable. It’s what ensures the colours in your photos are true to life.
Get it wrong, and you’ll end up with a yellow or blue cast that makes pristine white walls look grimy and natural daylight feel cold and sterile.
- Find a Neutral: Grab the eyedropper tool in your editing software and click on something in the photo that should be neutral grey or white. A light switch plate, a door frame, or even the ceiling can work wonders. This calibrates the software, and it will adjust all the other colours in the image accordingly.
- Sync It Up: Once you’ve perfected the white balance on one photo, select all the other images from that same room and sync the setting. Boom—instant colour consistency.
Dialing in Exposure and Contrast
With your colours looking true, it’s time to balance the light. Your histogram is your most trusted guide here. It’s a simple graph showing the tonal range of your photo, from the darkest shadows on the left to the brightest highlights on the right.
A properly exposed real estate shot usually has a histogram that’s spread nicely across the graph, without being slammed up against either end. If it’s “clipped,” it means you’ve lost all the detail in the pure blacks or whites, which you definitely want to avoid. Gently move the exposure, highlights, and shadows sliders to bring balance back into the image, making sure every corner of the room is well-lit and inviting.
By making small, deliberate adjustments to exposure and contrast, you can make a room feel bigger, brighter, and more welcoming without it looking unnatural. The goal is a crisp, clear image that pulls the viewer in.
Fixing Those Pesky Distortions
Wide-angle lenses are a must for capturing the full scope of a room, but they come with a notorious side effect: distortion. You’ll see it in converging vertical lines, where walls and door frames look like they’re leaning inward. It just screams amateur.
Thankfully, fixing this is a piece of cake with modern editing tools. Most software has automated lens correction profiles that can identify your camera and lens and apply a fix with a single click. From there, you can use manual transform tools or vertical sliders to get every line perfectly straight.
If you want to get into the weeds, our guide on using AI to straighten photos has some great advanced tips. And for a broader look at the process, this guide on how to edit real estate photos is an excellent resource.
Let’s quickly recap these essential adjustments.
Core Editing Adjustments Quick Reference
| Adjustment | Purpose in Real Estate Photography | Desired Outcome |
|---|---|---|
| White Balance | To correct unnatural colour casts from artificial lighting or mixed light sources. | Colours appear true-to-life; whites are clean and neutrals are accurate. |
| Exposure & Contrast | To ensure the image is bright, clear, and easy to "read" without losing detail in highlights or shadows. | A well-lit, inviting space with a full range of tones, from deep blacks to bright whites. |
| Lens/Perspective Correction | To fix the warping and converging vertical lines caused by wide-angle lenses. | All vertical lines are perfectly straight, giving the photo a professional, architectural look. |
Getting these initial steps right makes every subsequent edit easier and more effective.
This push for polished, professional images is a worldwide trend. The global Real Estate Photo Editing Service Market was valued at USD 799.2 million in 2024, and it's still growing. This demand is particularly noticeable in markets like India, where the photography services industry is projected to hit USD 13,695.2 million by 2033. The numbers don't lie: over 70% of Indian realtors use edited images on listing portals because they know that unedited photos can slash views by up to 40%.
Using AI for Advanced Enhancements
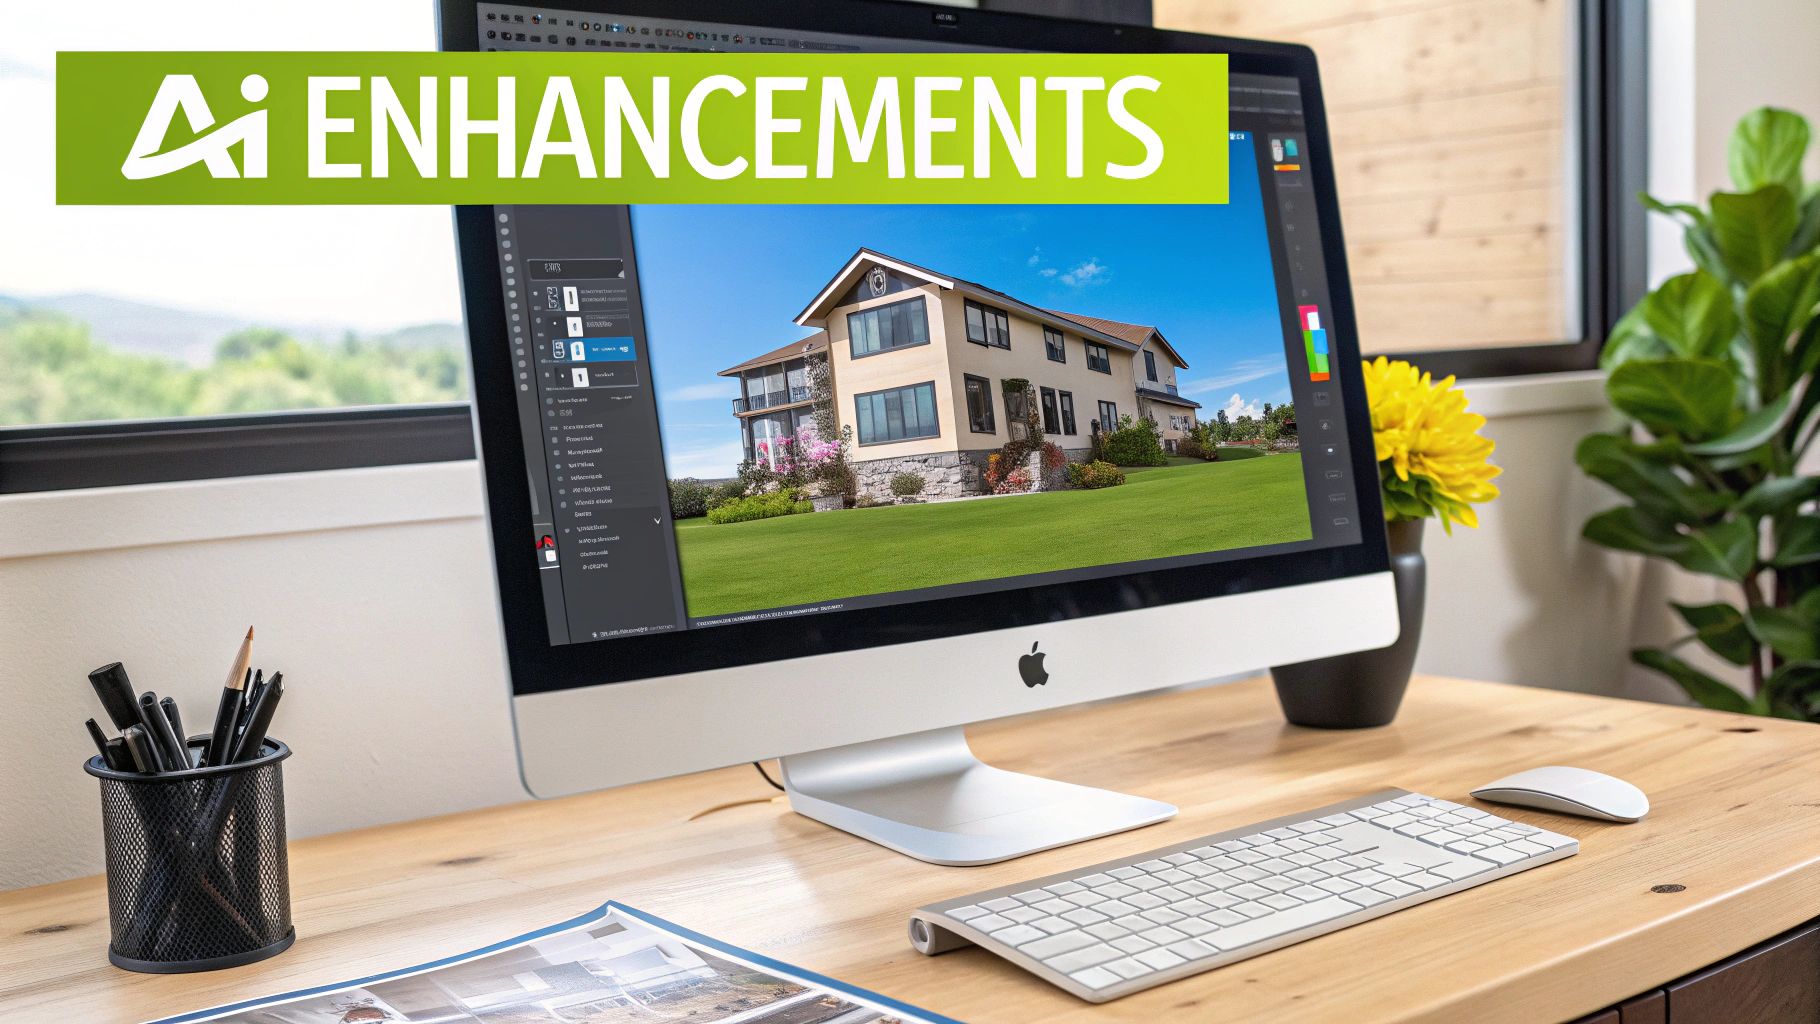
Alright, you’ve nailed the fundamentals. Your lines are straight, the colours look right, and the exposure is balanced across the board. Now comes the fun part—adding that final layer of polish that takes a good photo and makes it truly compelling. This is where artificial intelligence really shines, moving beyond simple fixes to become a genuine creative partner.
These advanced touches are what separate a standard listing from a standout one. They solve common property photography headaches, inject a bit of creative flair, and, most importantly, help potential buyers see the property for what it could be, not just what it is today.
Effortless Object and Blemish Removal
Let's be real: no property is perfect. There’s always a scuff on the wall, a poorly placed light switch, or a rogue garden hose distracting from the kerb appeal. A few years ago, fixing these meant tedious work with clone stamps and healing brushes. Now, AI-powered tools like a magic eraser can do the job in seconds.
You just highlight the object you want gone, and the AI intelligently analyses the surrounding area to fill in the gap. It’s a lifesaver for cleaning up those little things that can subtly undermine an otherwise great shot. Honestly, this feature alone has been a massive time-saver in the final stages of my editing workflow.
The point of object removal isn’t to mislead anyone. It’s about directing the viewer’s focus. When you remove a distracting crack in the driveway, you’re allowing the buyer to appreciate the home itself, not its minor, easily fixed flaws.
AI Sky Replacement for Perfect Exteriors
We've all been there. You show up for a shoot and are greeted by a flat, grey sky that makes even the most stunning home look drab. You can't control the weather, but you can absolutely control the final image. This is where AI sky replacement becomes your best friend.
With a single click, these tools are now smart enough to:
- Perfectly identify and mask the original sky, even around tricky details like tree branches and complex rooflines.
- Drop in a brand new sky, whether you want a bright blue afternoon or a dramatic twilight glow.
- Automatically re-light the entire scene, adjusting the colour temperature and tones of the property to match the new sky for a natural, cohesive look.
This is easily one of the quickest ways to boost a property’s kerb appeal. That first exterior shot is often a buyer's first impression, and a warm, inviting sky makes all the difference.
Breathing Life into Empty Rooms with Virtual Staging
An empty room is a challenge for most buyers. It’s hard to judge the scale or imagine how their own life might fit into a vacant space. AI-powered virtual staging solves this by digitally furnishing properties, and it's faster, cheaper, and more flexible than hauling in physical furniture.
The technology has come a long way from the clunky, fake-looking models of the past. Modern tools can add stylish, photorealistic furniture that not only fits the home’s aesthetic but also realistically interacts with the room's lighting and shadows. If you're new to this, learning how to use an AI photo enhancer is a great place to start.
The impact of these AI edits is being felt globally. For instance, the rise of AI photo editing in India's real estate market has been huge, with the country's photo editing app market valued at USD 8.87 million in 2024. This isn't surprising when you consider data showing that professionally edited images can increase enquiries by up to 61%. With over 90% of property searches in urban India happening online, these tools are no longer a luxury—they're essential.
Upscaling and Final Enhancements
Before you export, there's one last check: making sure your images are as sharp and detailed as they can be. AI upscalers are fantastic for this. They can intelligently increase a photo's resolution, which is incredibly useful if you need to crop in tightly or want to use an image for large-format printing without it looking pixelated.
Finally, I like to use a one-click AI enhancer to apply a final bit of magic. It subtly boosts clarity, vibrancy, and contrast to make the whole image "pop." It’s that last professional touch that ensures your listing photos are crisp, clear, and ready to grab a buyer's attention on any device.
You’ve done the hard work, and your photos are looking fantastic. But don't hit export just yet. The final step—optimising your images for the web—is where many editors drop the ball, and it can undo all your careful adjustments. A stunning photo that’s too large will load at a snail's pace, and one that's compressed poorly will look fuzzy and unprofessional. Let’s get this last part right.
Getting your photos ready for an MLS listing, a property website, or a social media feed is a non-negotiable part of the job. It's a balancing act between visual quality and performance. After all, what good is a beautiful image if an impatient buyer clicks away before it even loads? This final polish ensures your work shines on every screen.
A Final Touch of Sharpness
Before you export, a little bit of output sharpening can make a world of difference. I'm not talking about trying to fix a blurry shot—that ship has sailed. This is about adding a subtle crispness that makes the details pop on a digital display. Most platforms, from MLS portals to Instagram, compress images, which can soften them up. A touch of pre-sharpening is your way of fighting back.
The secret is to be gentle. Over-sharpening is a dead giveaway of an amateur edit; it creates nasty digital halos around edges and makes the whole image look brittle. Just apply enough to bring out the texture in the hardwood floors, the grain in the kitchen countertops, or the fine lines of the architecture. The goal is clarity, not a harsh, over-processed look.
This simple workflow is key to getting your images ready for the world.
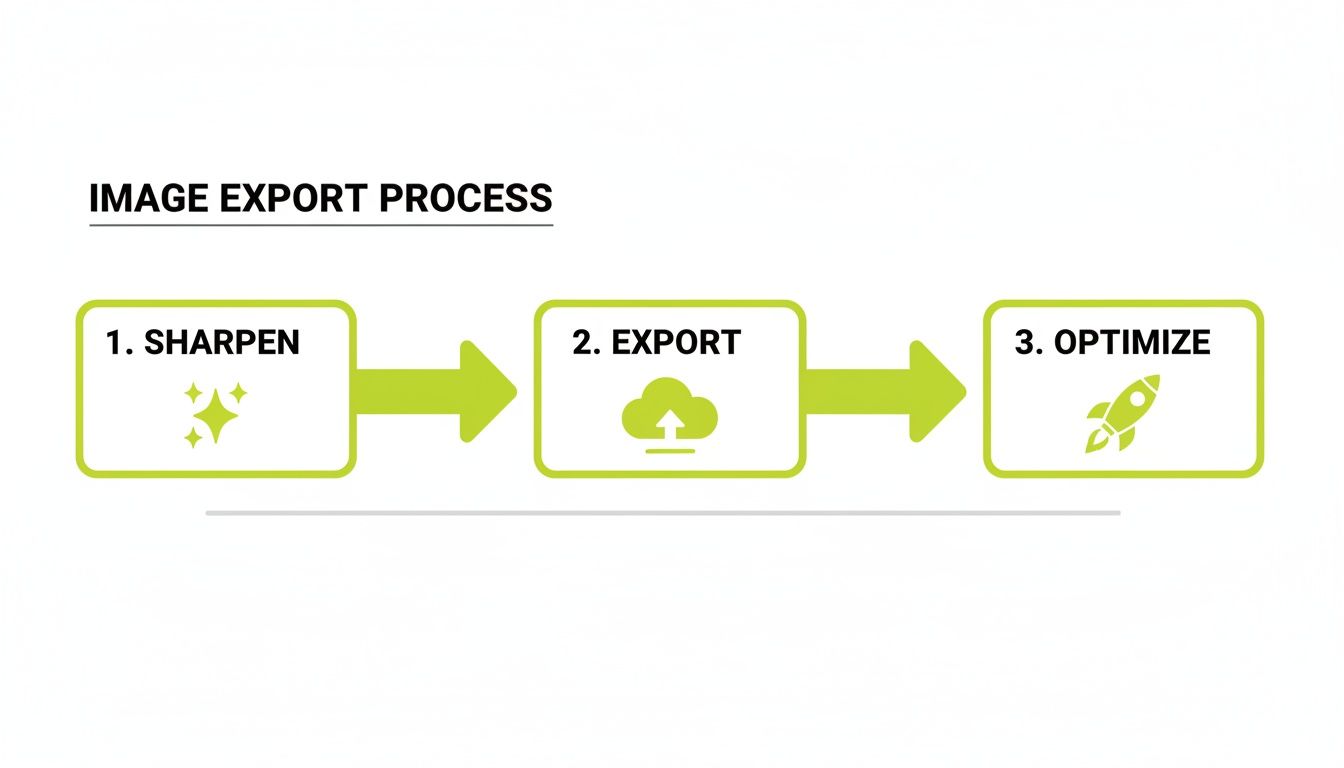
Following these steps ensures every photo you deliver is perfectly prepped to look great and load fast, no matter where it ends up.
Custom Export Settings for Every Platform
There’s no "one-size-fits-all" export preset. The settings that work for an MLS listing will get butchered by Instagram's compression algorithm. To get the best results, you need to tailor your exports for each specific platform.
Here's a quick rundown of what I use for the most common spots:
- MLS Listings: These sites are notorious for their strict rules on file size and dimensions. A high-quality JPEG is the way to go, but you'll likely need to resize it (say, to 2048 pixels on the long edge) and tweak the compression to sneak under a file size cap like 1MB. Always check the specific MLS requirements first.
- Property Websites: Here, you have more freedom. I usually export full-resolution JPEGs and then run them through a web compression tool. This slashes the file size with almost no visible loss in quality, which is absolutely critical for keeping your page load speeds snappy.
- Social Media (Instagram/Facebook): These platforms are ruthless with image compression. To soften the blow, export your photo at their preferred dimensions. For Instagram, that’s typically 1080 pixels wide. Feeding the algorithm exactly what it wants gives you the best chance of retaining your image quality.
Pro Tip: Always, always export for the web using the sRGB colour space. It's the standard for every browser and phone out there. Using anything else is asking for your perfectly balanced colours to look weird and inconsistent across different devices.
Nailing Down File Format and Compression
For 99% of online real estate photography, JPEG is your best friend. It hits the perfect sweet spot between image quality and file size. While newer formats like WebP offer even better compression, JPEG is still the most universally accepted format that will work everywhere without a hitch.
When you export as a JPEG, you’ll see a quality slider, usually from 0-100 or 0-12. This is where the magic happens.
| Quality Level | Best For… | What to Expect |
|---|---|---|
| High (90-100) | Print materials, your personal portfolio—anywhere you need maximum detail. | Best possible quality, but a very large file. |
| Medium (70-85) | The sweet spot for most web uses, including MLS and property websites. | A great balance of crisp detail and a small file size. |
| Low (50-60) | Thumbnails or situations where the smallest file size is the only thing that matters. | You'll see a noticeable drop in quality. |
I've found that a quality setting around 75-80 is perfect for most online listings. It keeps the files light enough for quick loading but preserves the visual impact you’ve worked so hard to create. If you resize and find you've lost too much detail, an AI upscaler can sometimes work wonders to bring back some of that crispness before you try compressing again.
In real estate photography, your editing workflow is everything. It's the difference between delivering stunning images in hours versus days. The key isn't just about being fast; it's about building a smart, repeatable process that guarantees consistency across every single photo in a gallery.
When you nail down your system, you stop wasting time on the same repetitive adjustments for every image. Instead, you can focus your creative energy on the edits that truly make a property pop. This is about working smarter, not harder.
The Power of Presets and Actions
Think about this: you've just nailed the perfect white balance and exposure for the living room. Instead of trying to replicate those exact settings for the dining room and kitchen shots, you can save them as a preset. With one click, you can apply those foundational edits—lens corrections, colour tweaks, sharpening—to the rest of the interior photos.
It's a massive time-saver, but more importantly, it ensures a cohesive look. Every image feels like part of the same professional set.
Actions take this a step further by recording an entire sequence of edits. Imagine creating an action that does all of this automatically:
- Combines three bracketed shots into a single, perfectly exposed HDR image.
- Applies your go-to lens correction profile.
- Straightens out those pesky vertical lines.
- Adds a subtle vignette to focus the viewer's attention.
Building out a library of presets and actions for common scenarios—like "Sunny Day Exteriors" or "Cosy Interior Lighting"—is a game-changer. You're essentially automating the grunt work.
An efficient workflow isn't about cutting corners; it's about building a system that handles the repetitive tasks for you. This frees up your mental energy for the creative, high-impact edits that make a property stand out.
Integrating AI for the Heavy Lifting
While presets and actions are fantastic for the basics, today's AI tools are here to tackle the really complex jobs—the ones that used to take hours of painstaking manual effort. These tools have moved beyond being a gimmick and are now an indispensable part of any serious real estate photographer's toolkit.
Remember the tedious process of cloning out a stray garden hose or a car parked in the driveway? What once required meticulous brushwork can now be done in seconds with an AI object removal tool. Same goes for a dull, grey sky. Instead of complex masking, an AI sky replacement feature can drop in a perfect blue sky with a single click, intelligently relighting the scene to match.
The difference between the old way and the new way is night and day. Take a look at how these common tasks stack up.
Manual Editing vs AI-Powered Automation
| Editing Task | Manual Approach (Time/Skill) | AI-Powered Approach (Glima AI) | Key Benefit |
|---|---|---|---|
| Sky Replacement | 15-30 mins; requires advanced masking skills. | Under 1 minute; one-click operation. | Massive time savings and perfect results. |
| Object Removal | 5-20 mins per object; tedious and difficult to get right. | Under 30 seconds; simple brush-over removal. | Effortlessly cleans up distracting elements. |
| Virtual Staging | Days/weeks with 3D software; highly specialised skill. | Minutes; uses AI to realistically furnish a room. | Adds value and helps buyers visualise the space. |
By letting AI handle this heavy lifting, you’re doing more than just saving time. You can now confidently offer high-value services like virtual staging or day-to-dusk conversions without needing a degree in 3D rendering. It’s how you scale your business and deliver exceptional, consistent results on every single project.
Got Questions About Real-Estate Photo Editing? We've Got Answers.
When you're getting into real estate photo editing, a lot of questions pop up. It doesn't matter if you're a pro photographer or an agent wearing multiple hats; getting clear answers to the common stuff can completely change your final images. Let's dig into some of the questions I hear all the time.
Getting a handle on these details, from the ethics of editing to the technical nitty-gritty, is what separates good property photos from great ones.
How Much Editing Is Too Much?
This is the big one, isn't it? The golden rule I always follow is to enhance, not deceive. Your goal is to show the property in its absolute best light, not to trick anyone. It’s digital tidying up, plain and simple.
Here’s what’s perfectly fine and expected:
- Fixing the colour and white balance so the paint on the walls looks true to life.
- Straightening out those leaning vertical lines and correcting lens distortion.
- Brightening up a gloomy room to show what it looks like with good natural light.
- Getting rid of temporary eyesores, like a rubbish bin left out or a small scuff on the wall.
You cross a serious line, though, when you start making permanent, structural changes. Removing a power line that’s part of the view, editing out a major crack in the foundation, or slapping a lush green lawn over a dead patch of grass is just dishonest. Your aim is a fantastic first impression, not a major let-down when buyers show up for a viewing.
Do I Really Need to Shoot in RAW?
One hundred percent, yes. No question about it. Think of a RAW file as your digital negative—it holds every single bit of data your camera's sensor captured, completely untouched. A JPEG, on the other hand, is already processed; the camera has made its own decisions on colour and sharpness for you.
Shooting in RAW gives you incredible flexibility later on. It's your get-out-of-jail-free card for recovering details from blown-out highlights or deep shadows. Plus, you have far more latitude to nail the white balance after the fact. If you start with a JPEG, you're tying one hand behind your back before you even begin editing.
What’s the Most Important Edit to Learn First?
If you only have time to master one thing, make it white balance correction. It's the absolute foundation for everything else. If your colours are off, nothing you do with exposure or contrast will ever look quite right.
A photo with a weird yellow or blue tint just screams "amateur." It can make a beautiful, clean room feel dingy or cold. The fastest way to get accurate, true-to-life colours is to learn how to use the white balance dropper tool in your editing software. Just click on something that should be neutral—a white wall, a grey countertop—and watch the magic happen.
Can I Just Use My Phone?
Look, modern smartphones have amazing cameras. But they still don't hold a candle to a proper DSLR or mirrorless camera, especially one with a good wide-angle lens. The tiny sensors in phones just can't handle low light as well, and as soon as you start to zoom, the image quality falls apart.
That said, for a quick social media post or a secondary shot, a high-end smartphone can work if you're careful. If you have to use one, follow these tips:
- Use a tripod. It’s non-negotiable for keeping the phone steady and your shots crisp.
- Shoot in RAW mode if your phone offers it. Most newer ones do.
- Use the widest lens you have to capture the full space.
- Manually control the exposure so you don't blow out the windows.
But for the main photos going on the MLS? A dedicated camera is still the professional standard. That superior image quality makes a real difference that potential buyers will definitely notice.
Ready to take your images from good to unforgettable? Glima AI has a powerful set of intuitive tools that can handle everything from sky replacement to virtual staging in just a few clicks. Transform your real estate photo editing workflow and start creating stunning visuals that sell. Explore what's possible at https://glima.ai.